

Setting up Studio
INFO
If you haven't signed up or set up your account with Studio, you can read this guide on Getting Started
Step 1: Create Your Organization
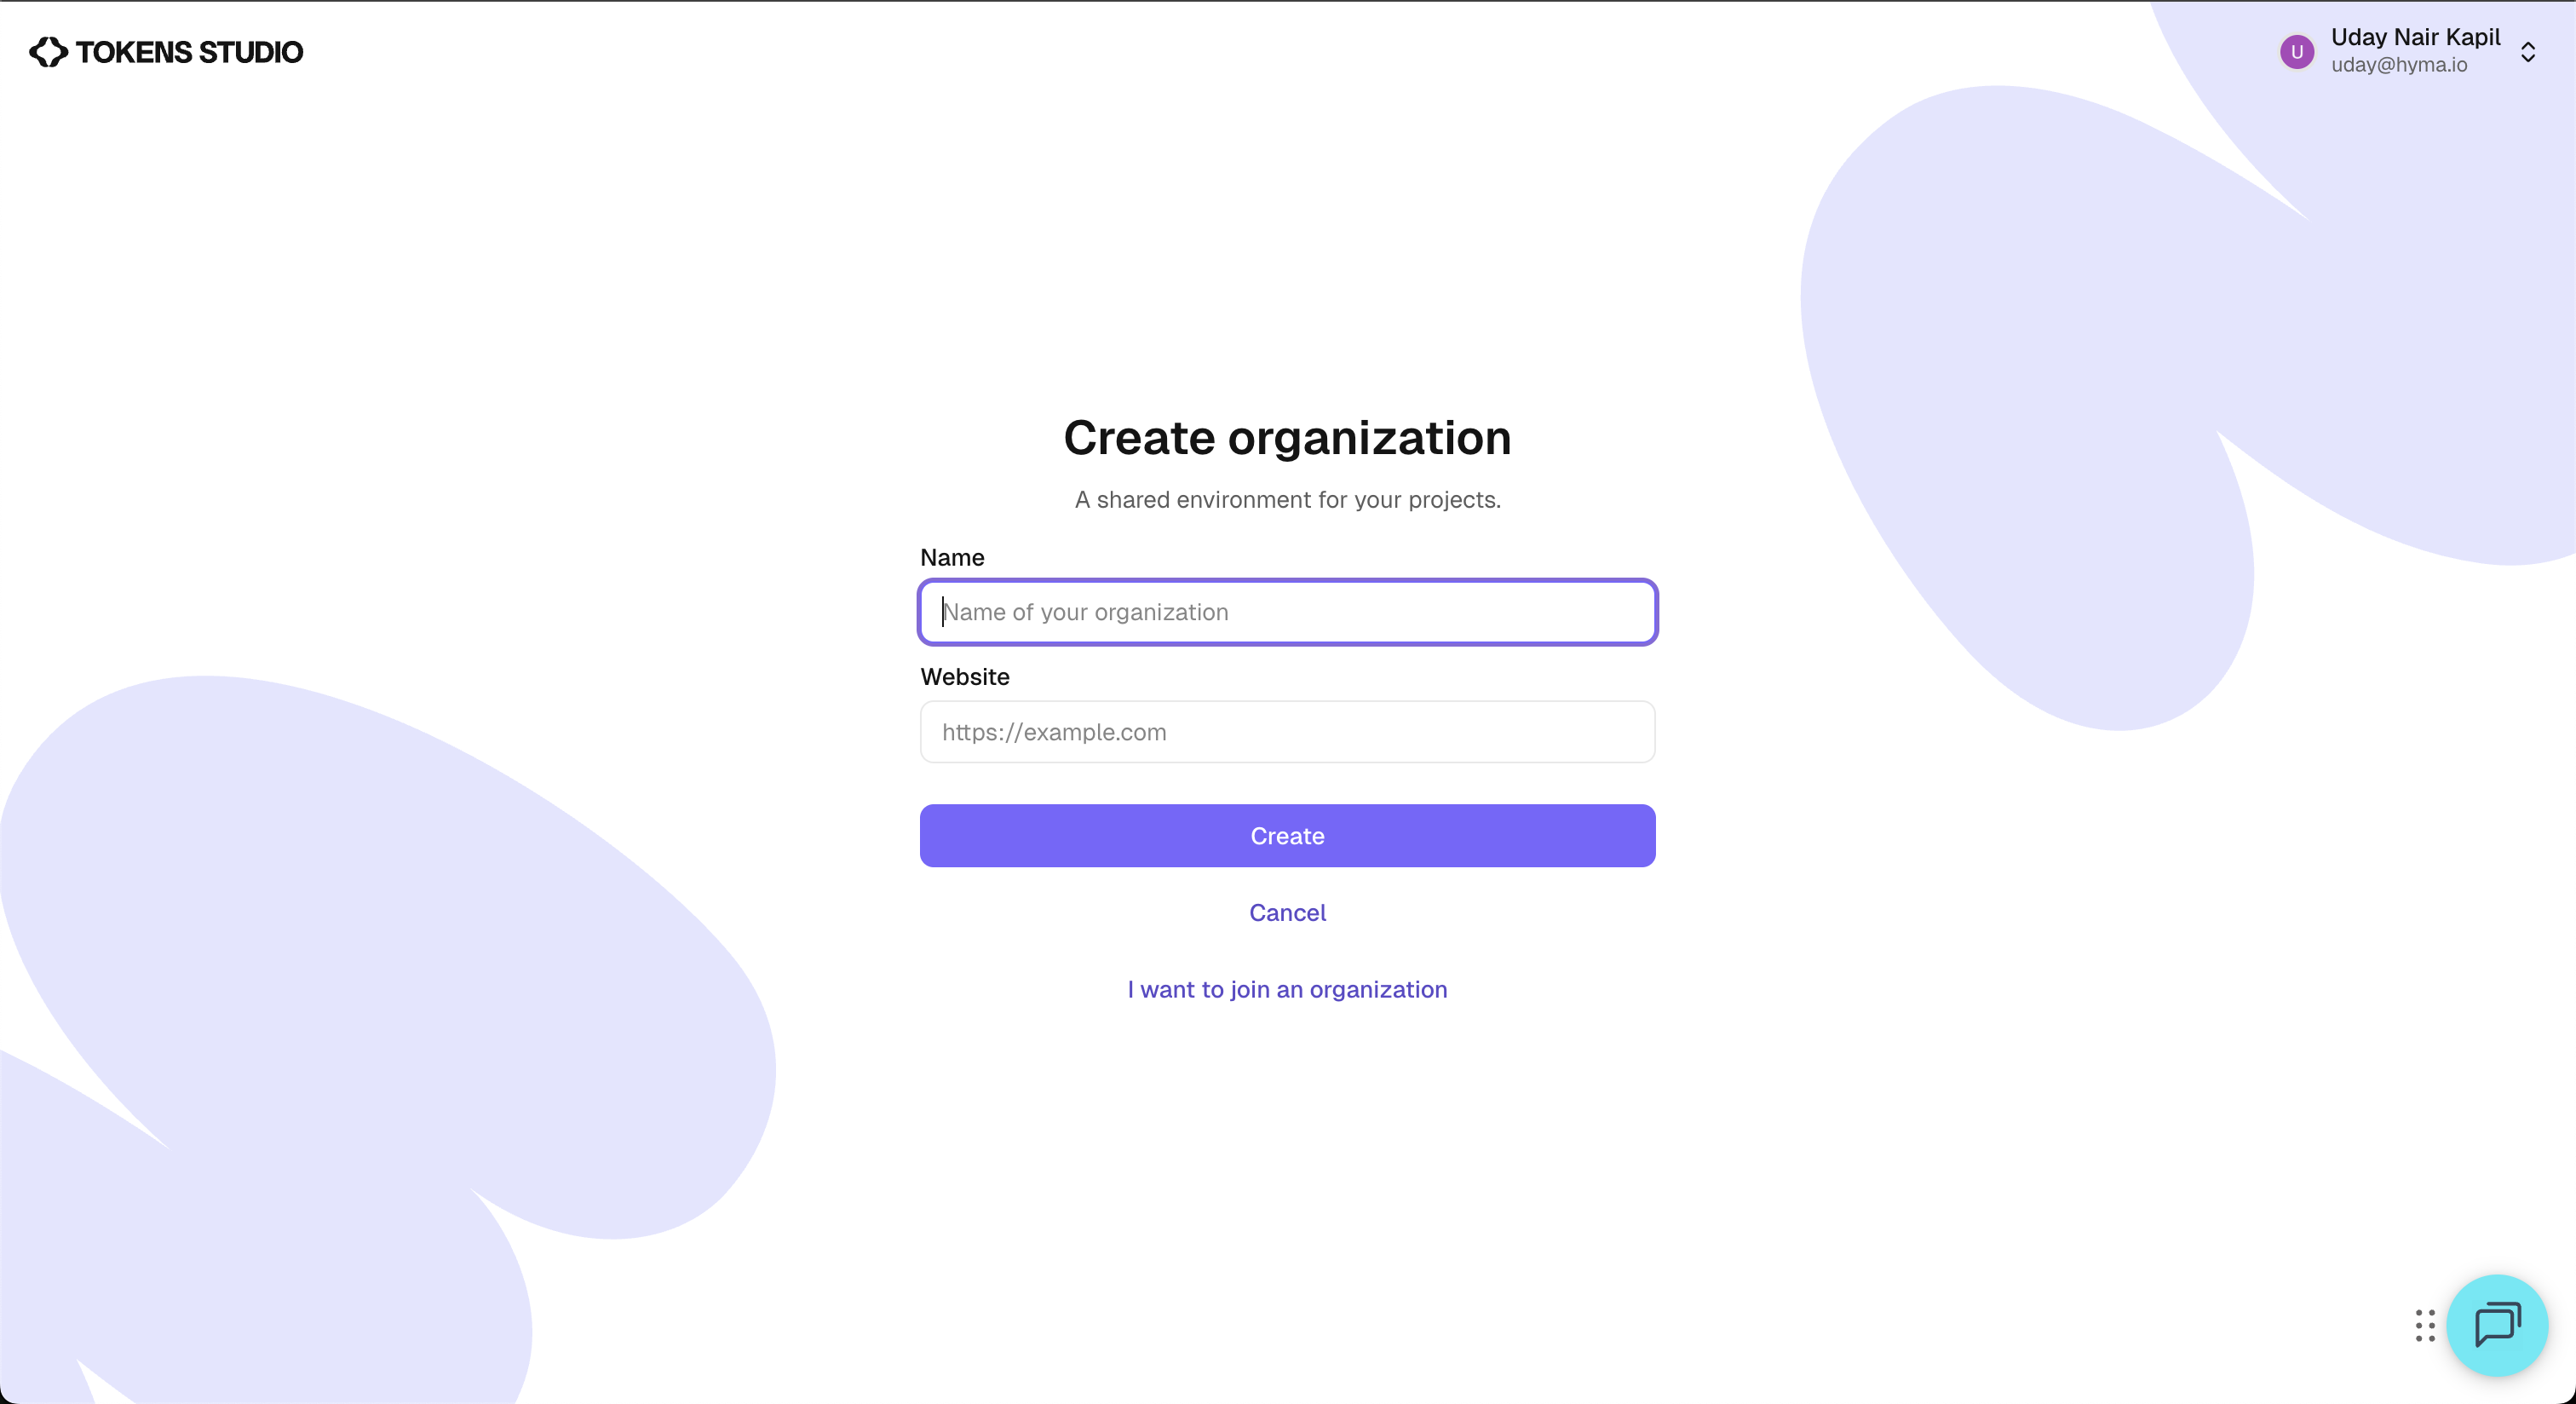
Upon first signing in, you are prompted to create an organization, which serves as the workspace for your team and projects.
- Enter your organization name and website, then click “Create”.
- You may choose to join an existing organization if invited by another member.
- This step establishes your environment for all future collaboration and token management.
Step 2: Select Your Plan: Subscription vs. Free Trial
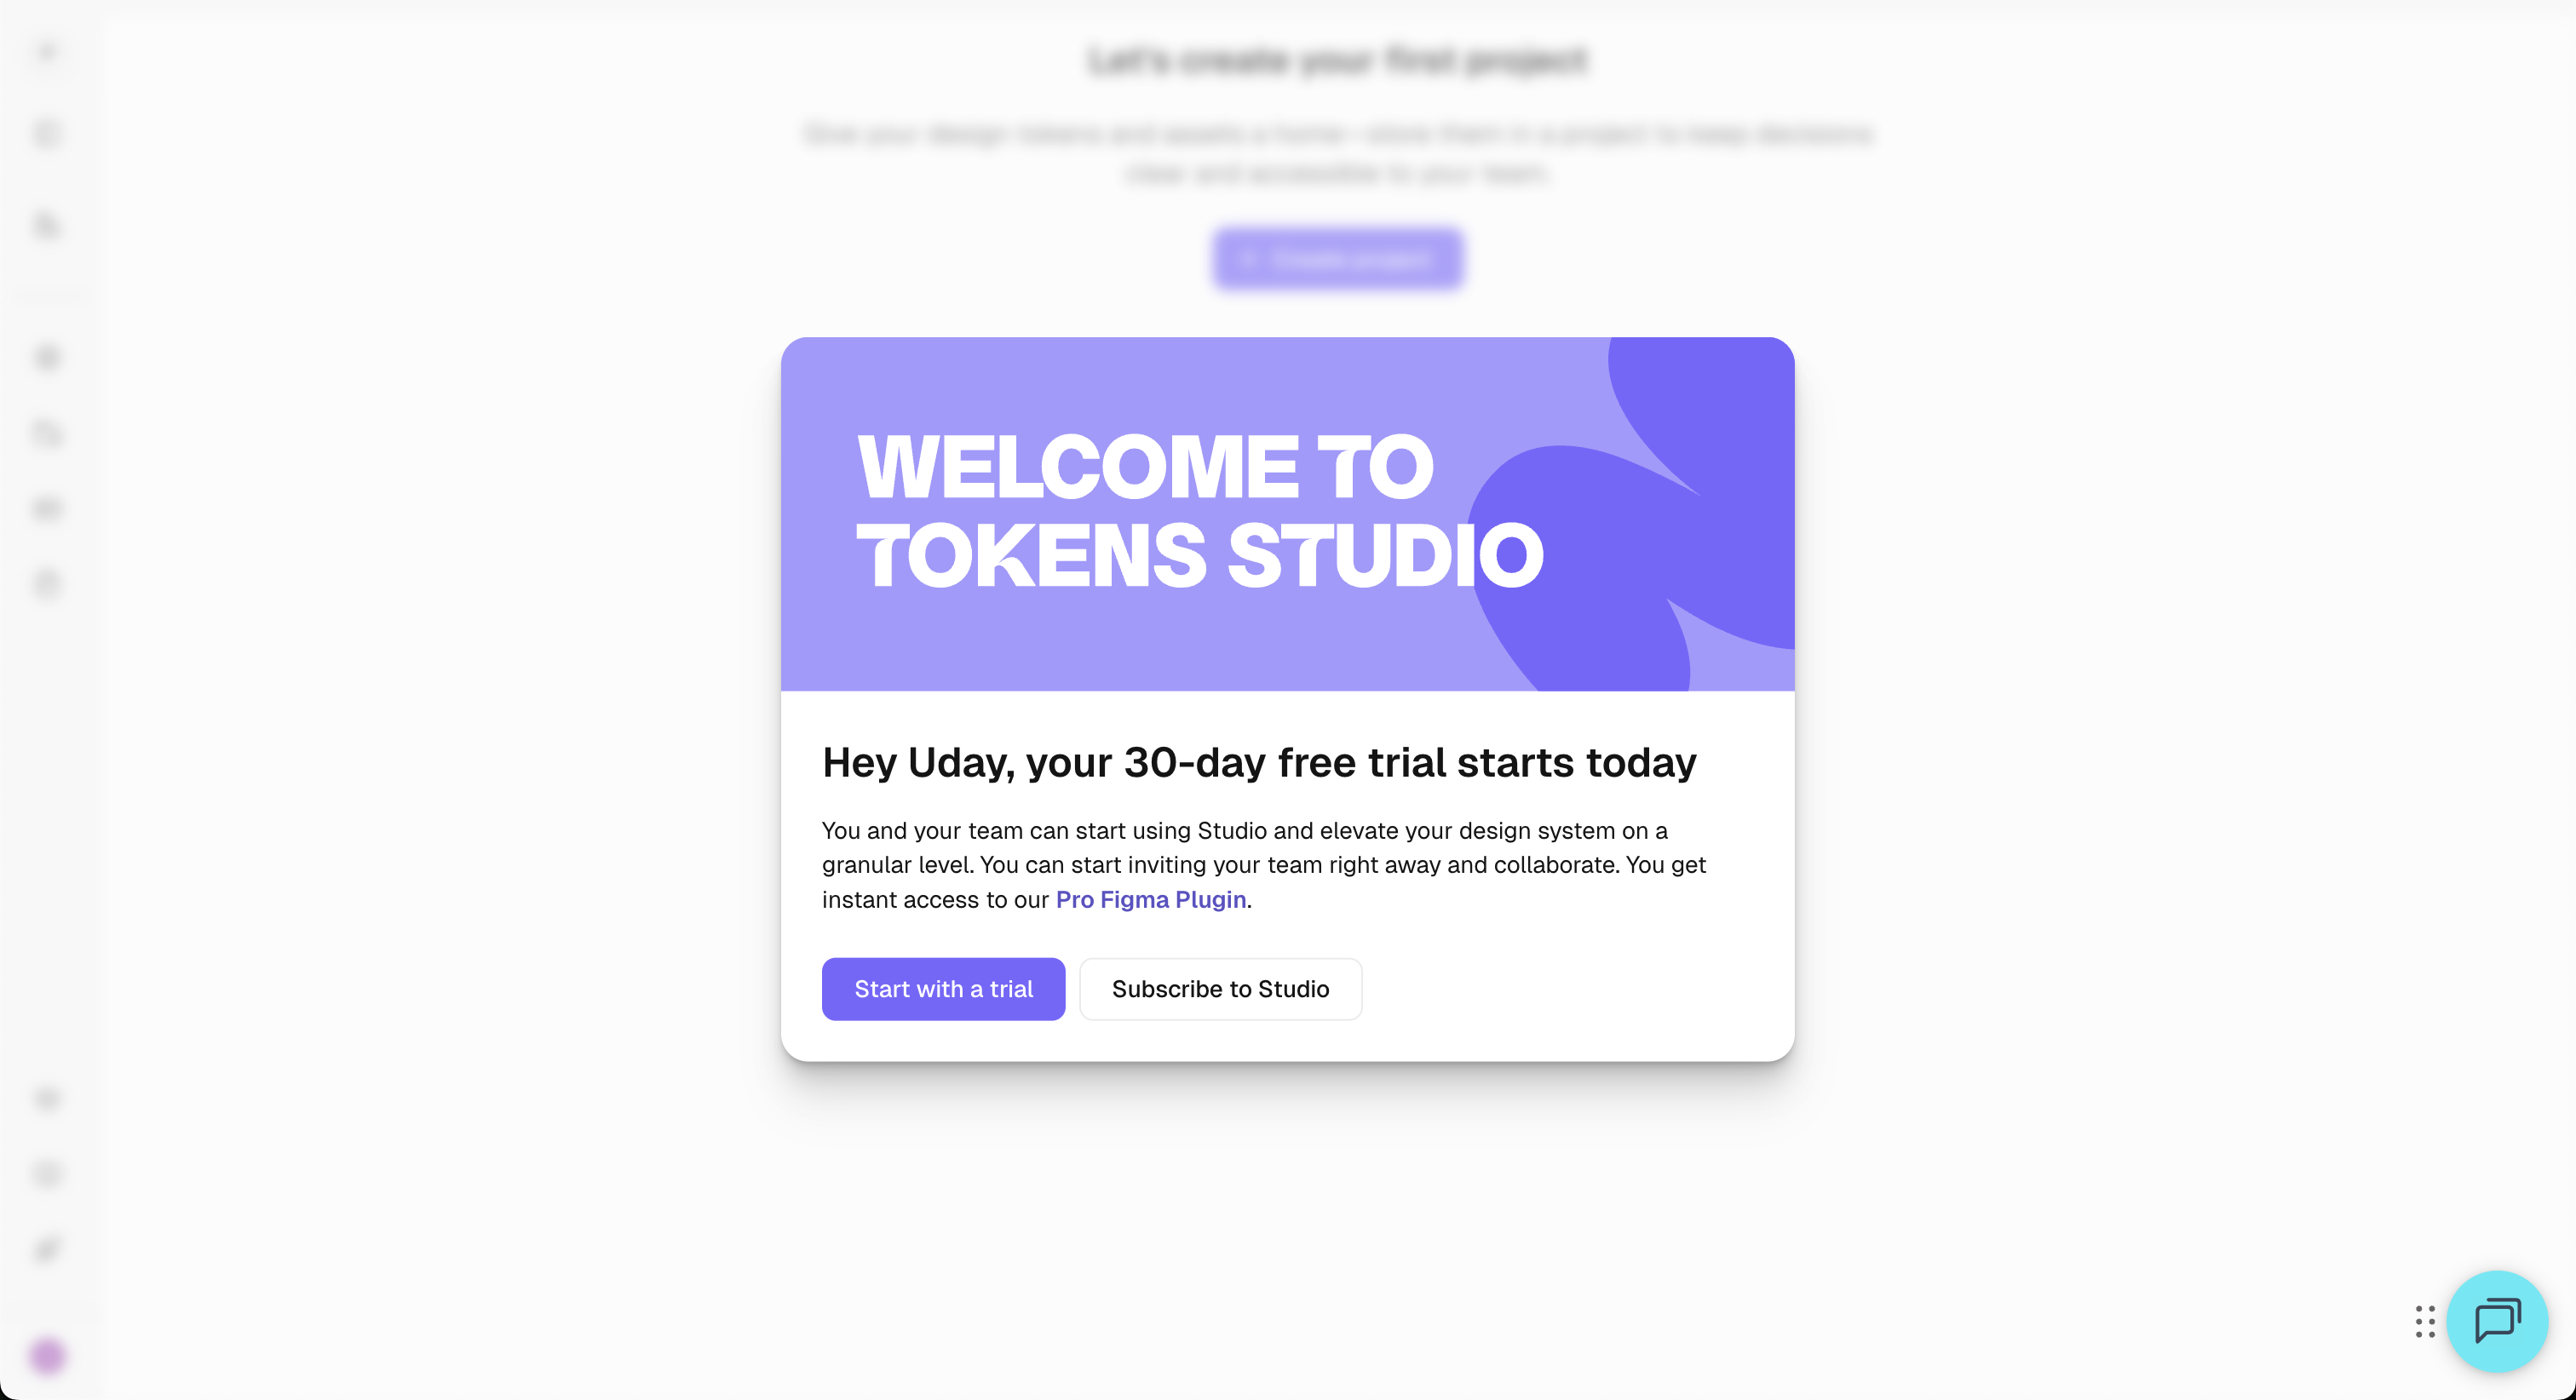
After organization setup, you must select a plan before you can continue.
- You are presented with two options: Essential and Organization plans, with both monthly and annual pricing options.
- A summary card displays your selection and the total due immediately.
Free Trial Route:
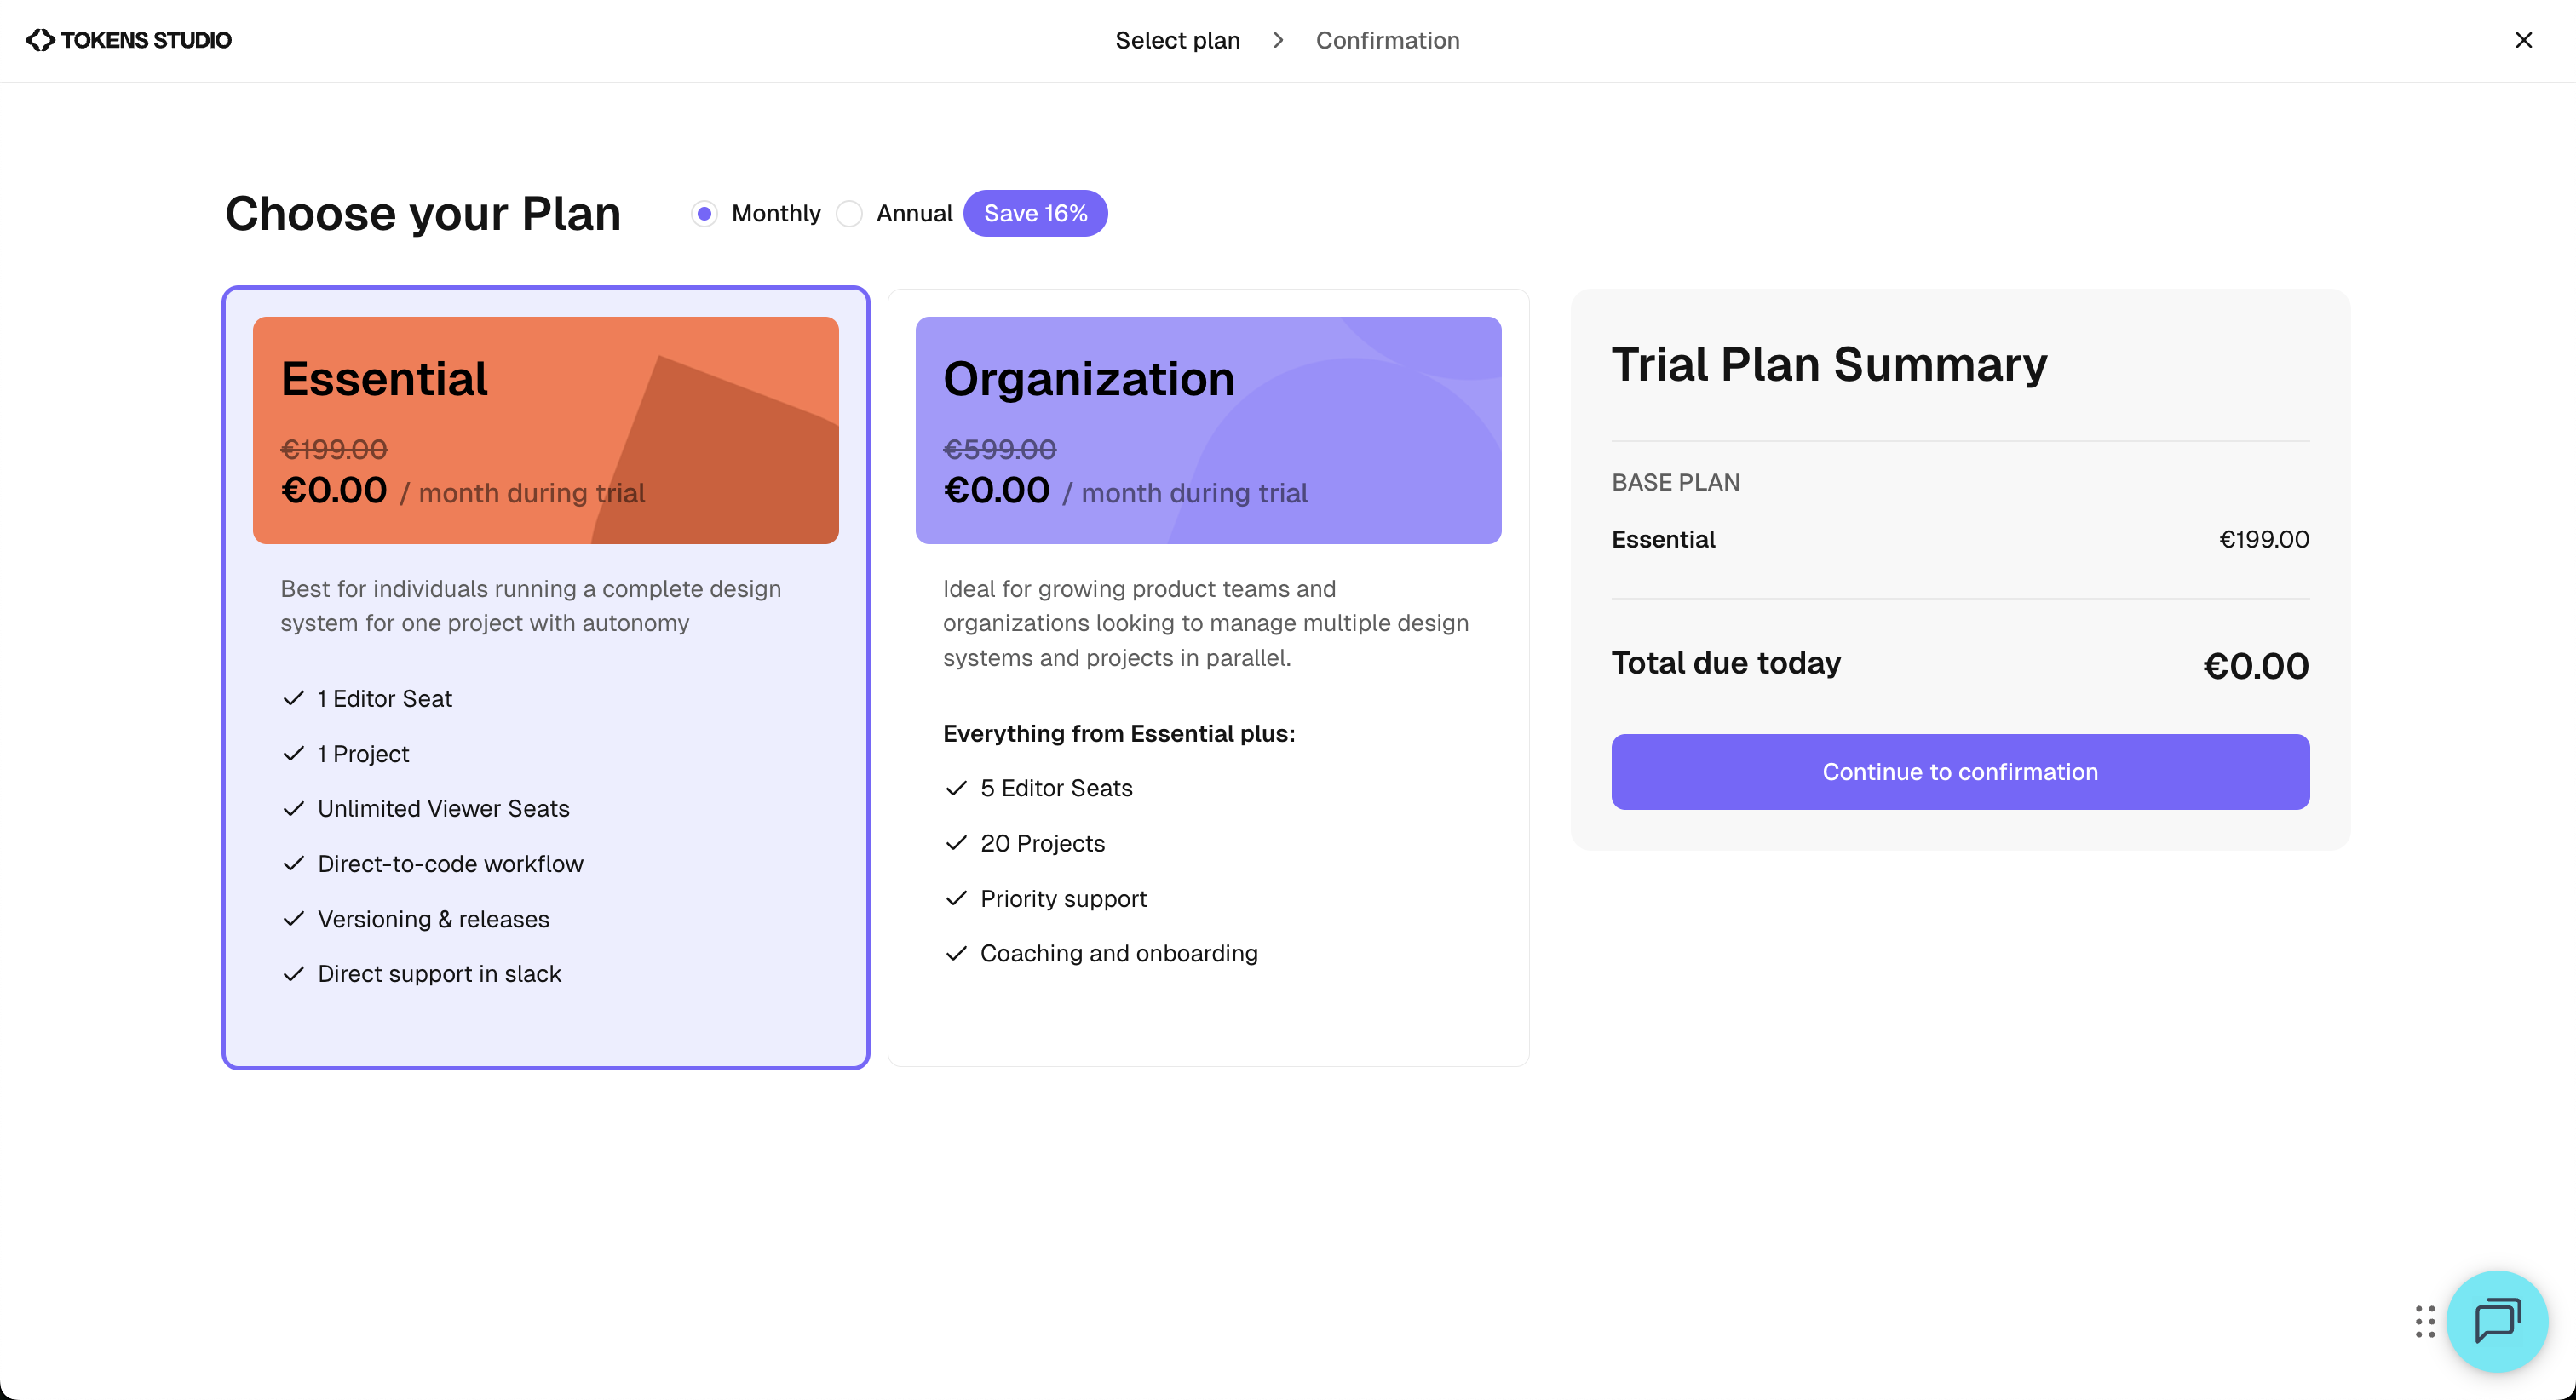
- If you choose the free trial, you receive 30 days of full feature access on the selected plan at no immediate cost.
- You can explore all platform tools (including team invites and the Pro Figma plugin) and upgrade or subscribe at any time during or after the trial.
Subscription Route:
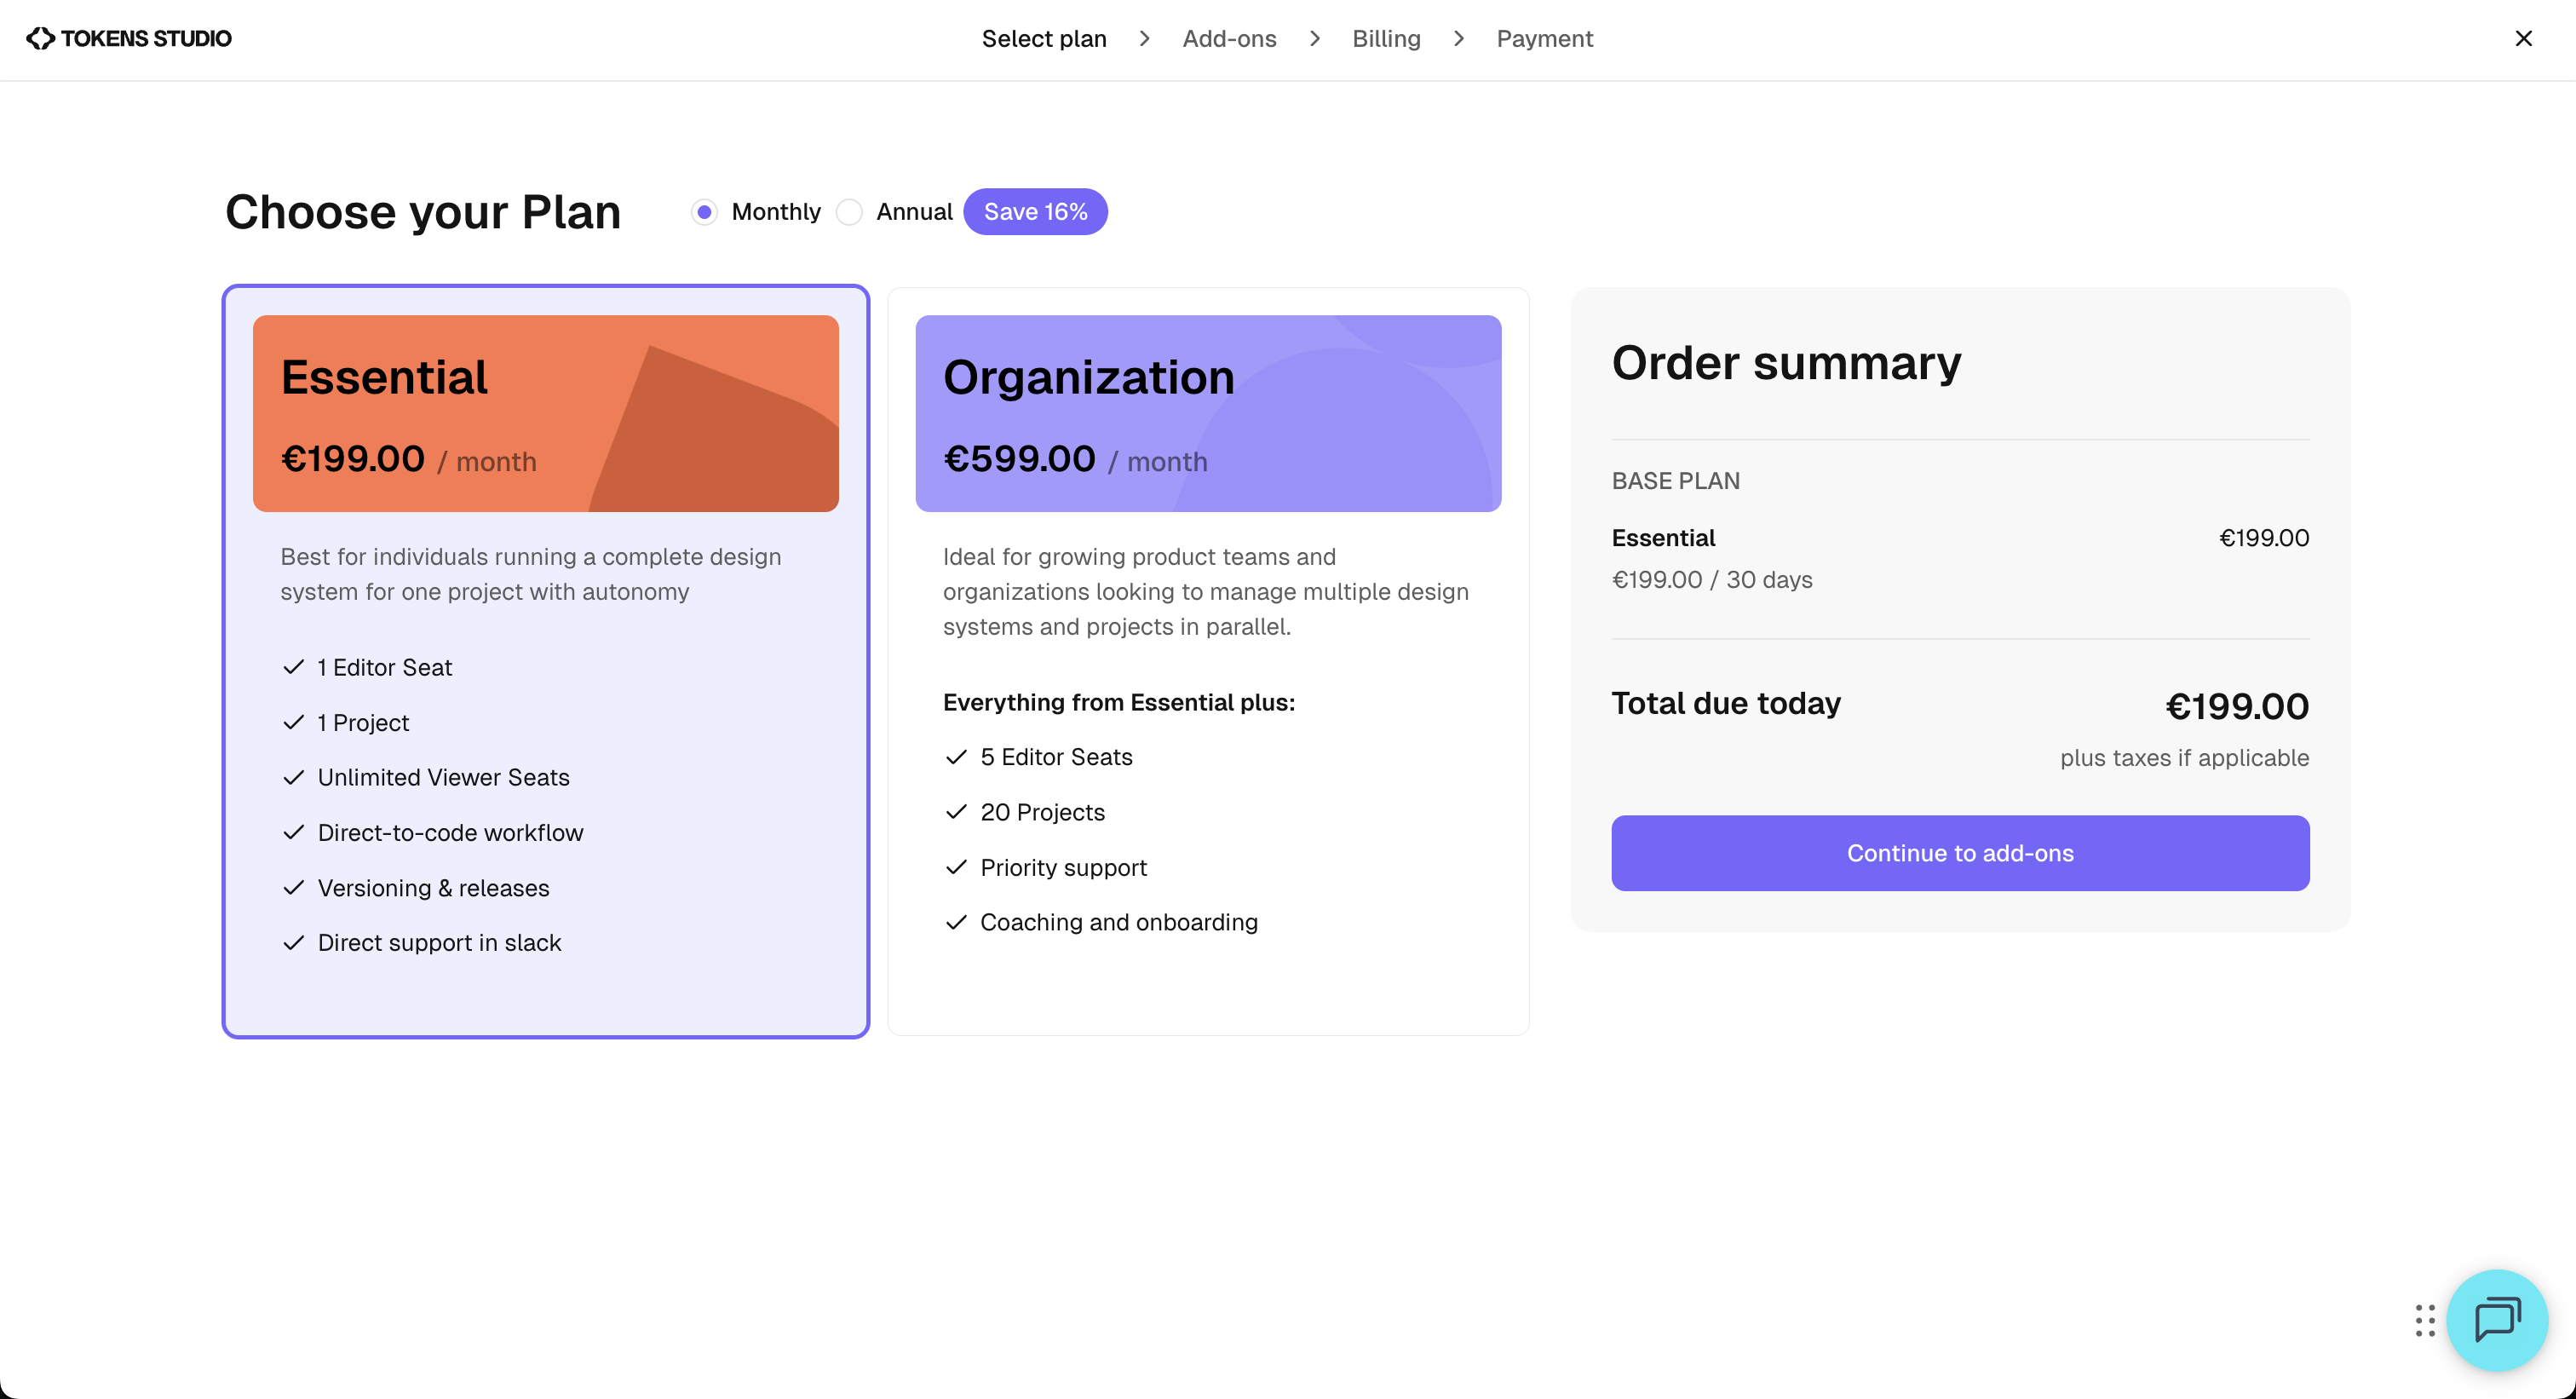
- If you opt to subscribe directly, you proceed through add-ons and billing screens, with the total due fully displayed (no trial period).
- The Essential plan is ideal for individuals with one project and one editor seat, while the Organization plan suits larger teams managing multiple projects.
Step 3: 3. Create Your First Project
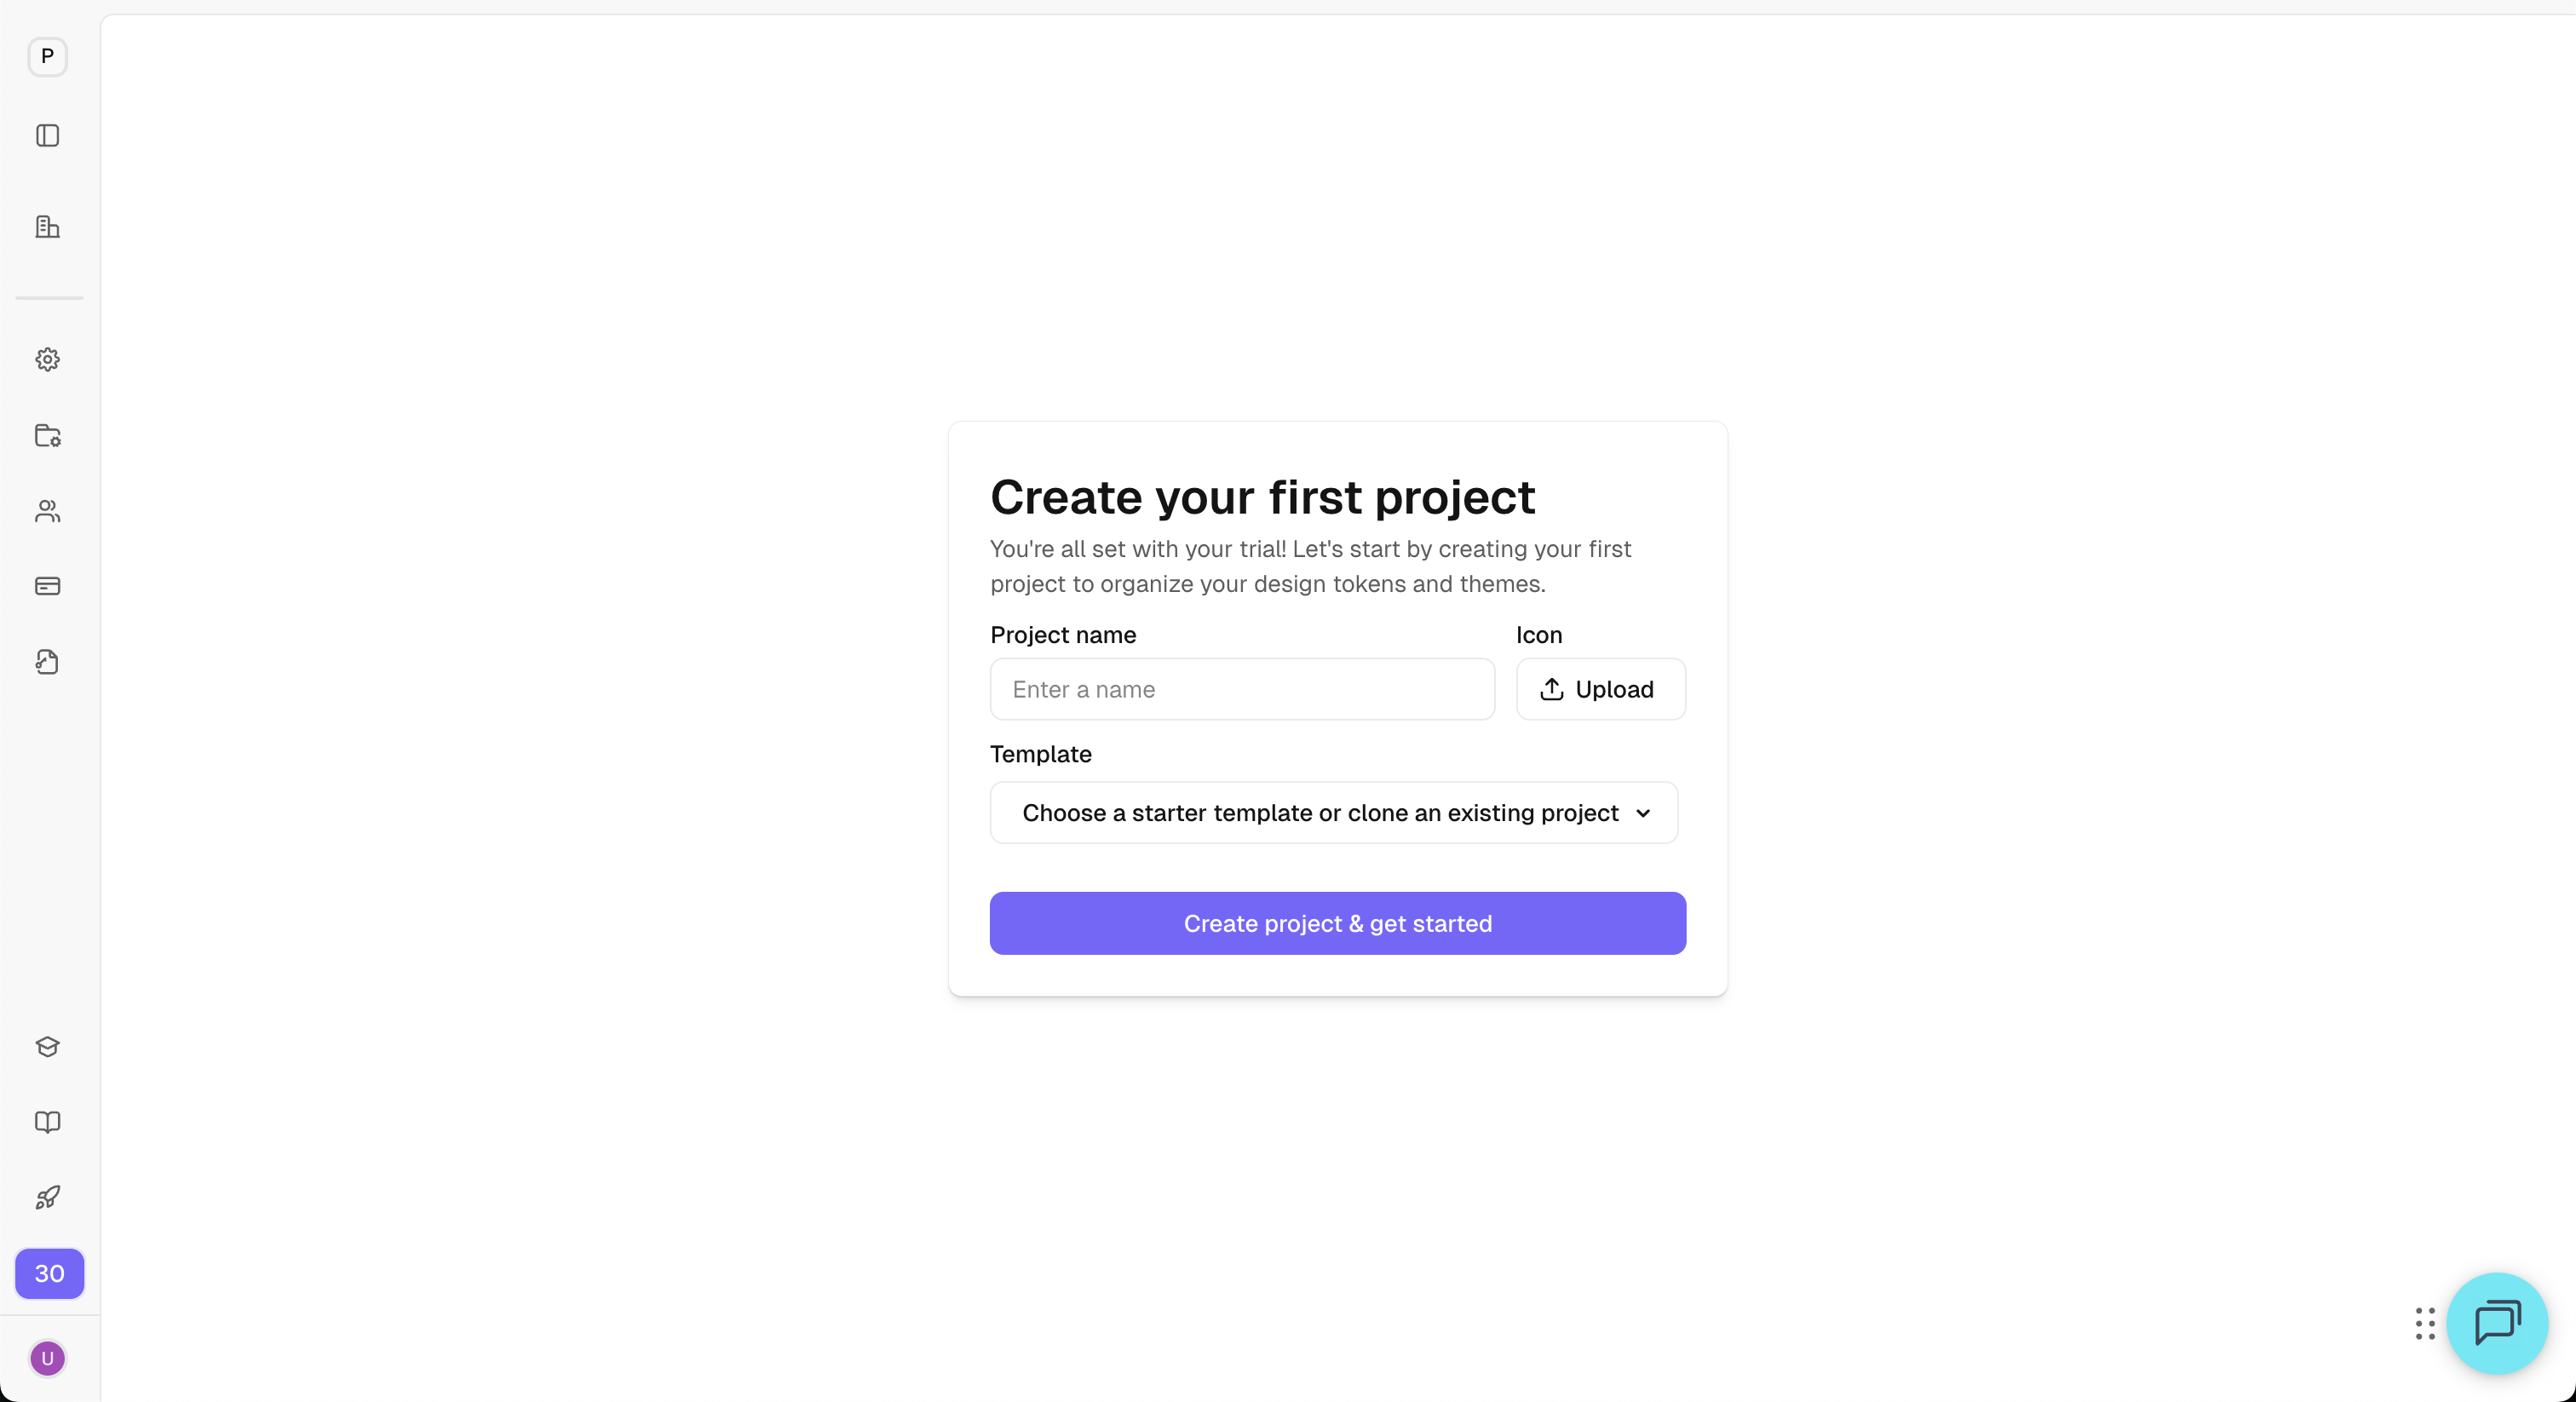
Once your organization and plan are confirmed, you are prompted to start your first project.
You will be prompted to create your first project right after organization setup.
- Enter a project name and (optional) upload an icon.
- Choose a starter template or clone an existing project.
- Click “Create project & get started” to continue.