Using Tokens Studio for Figma
Prerequisites:
Step 1: Open a Figma design file
This can be an empty file to ensure that your production designs are not affected while setting up connection with Studio.
Step 2: Install/Launch Tokens Studio for Figma
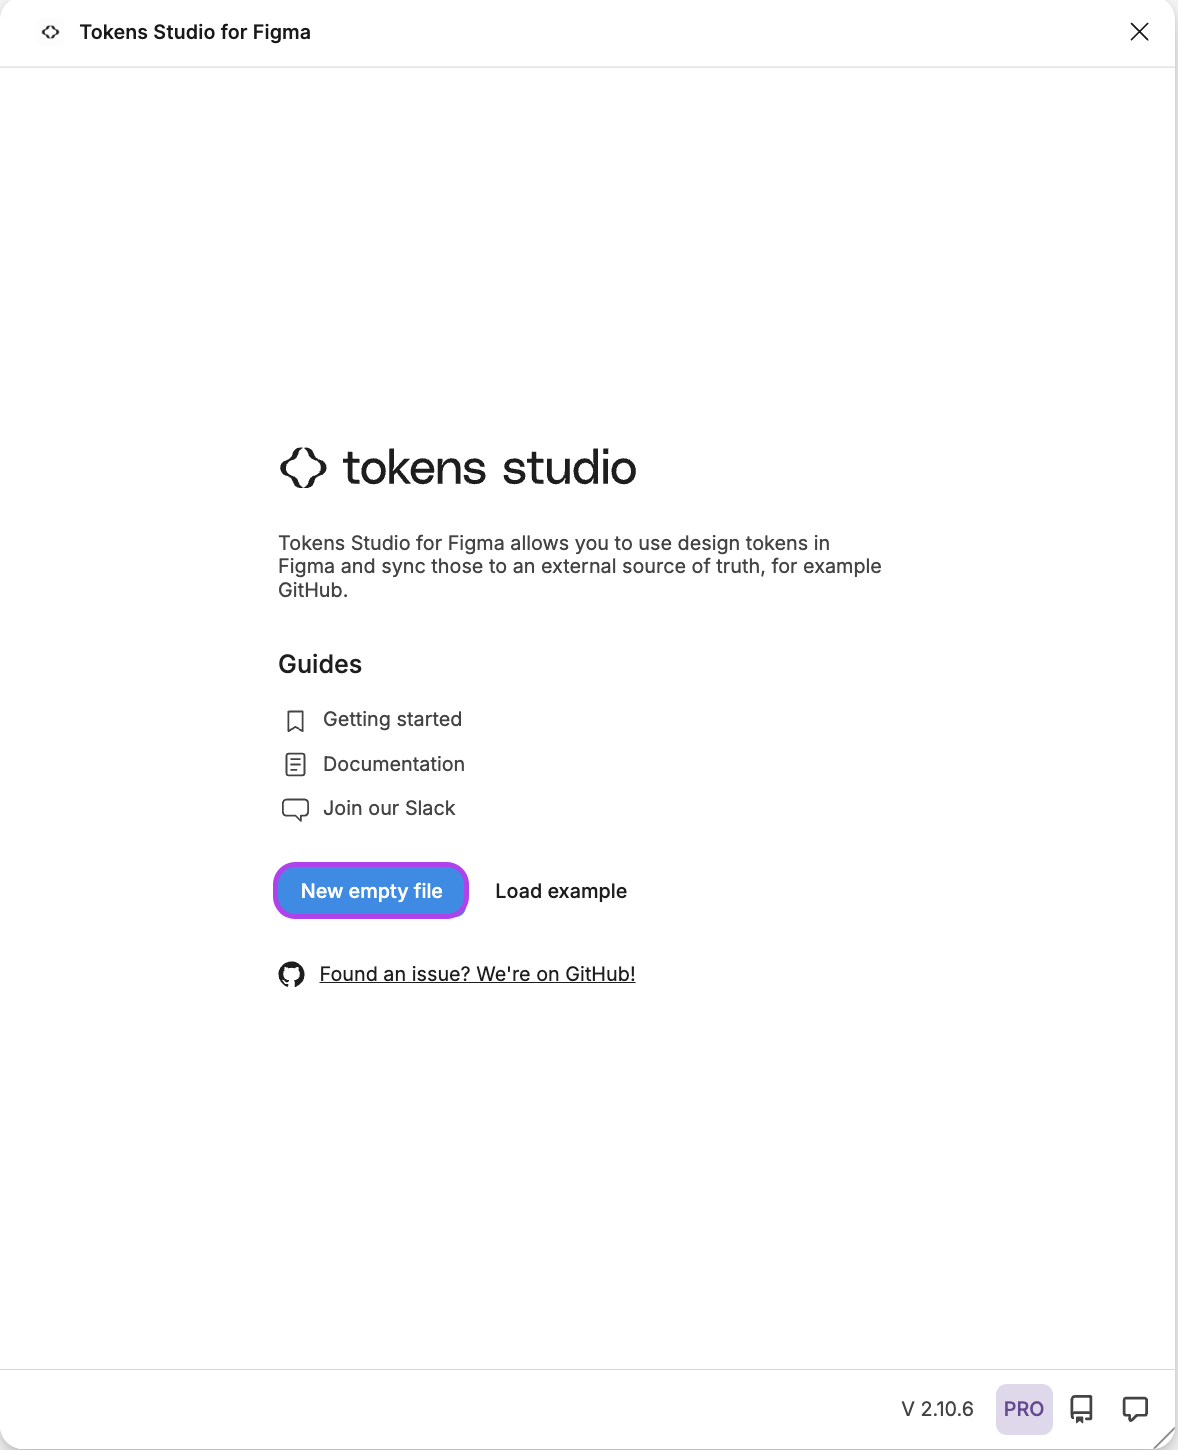
- Go to Plugins > Tokens Studio for Figma.
- In the plugin’s interface, open a "New empty file".

Step 3: Adding a new sync provider
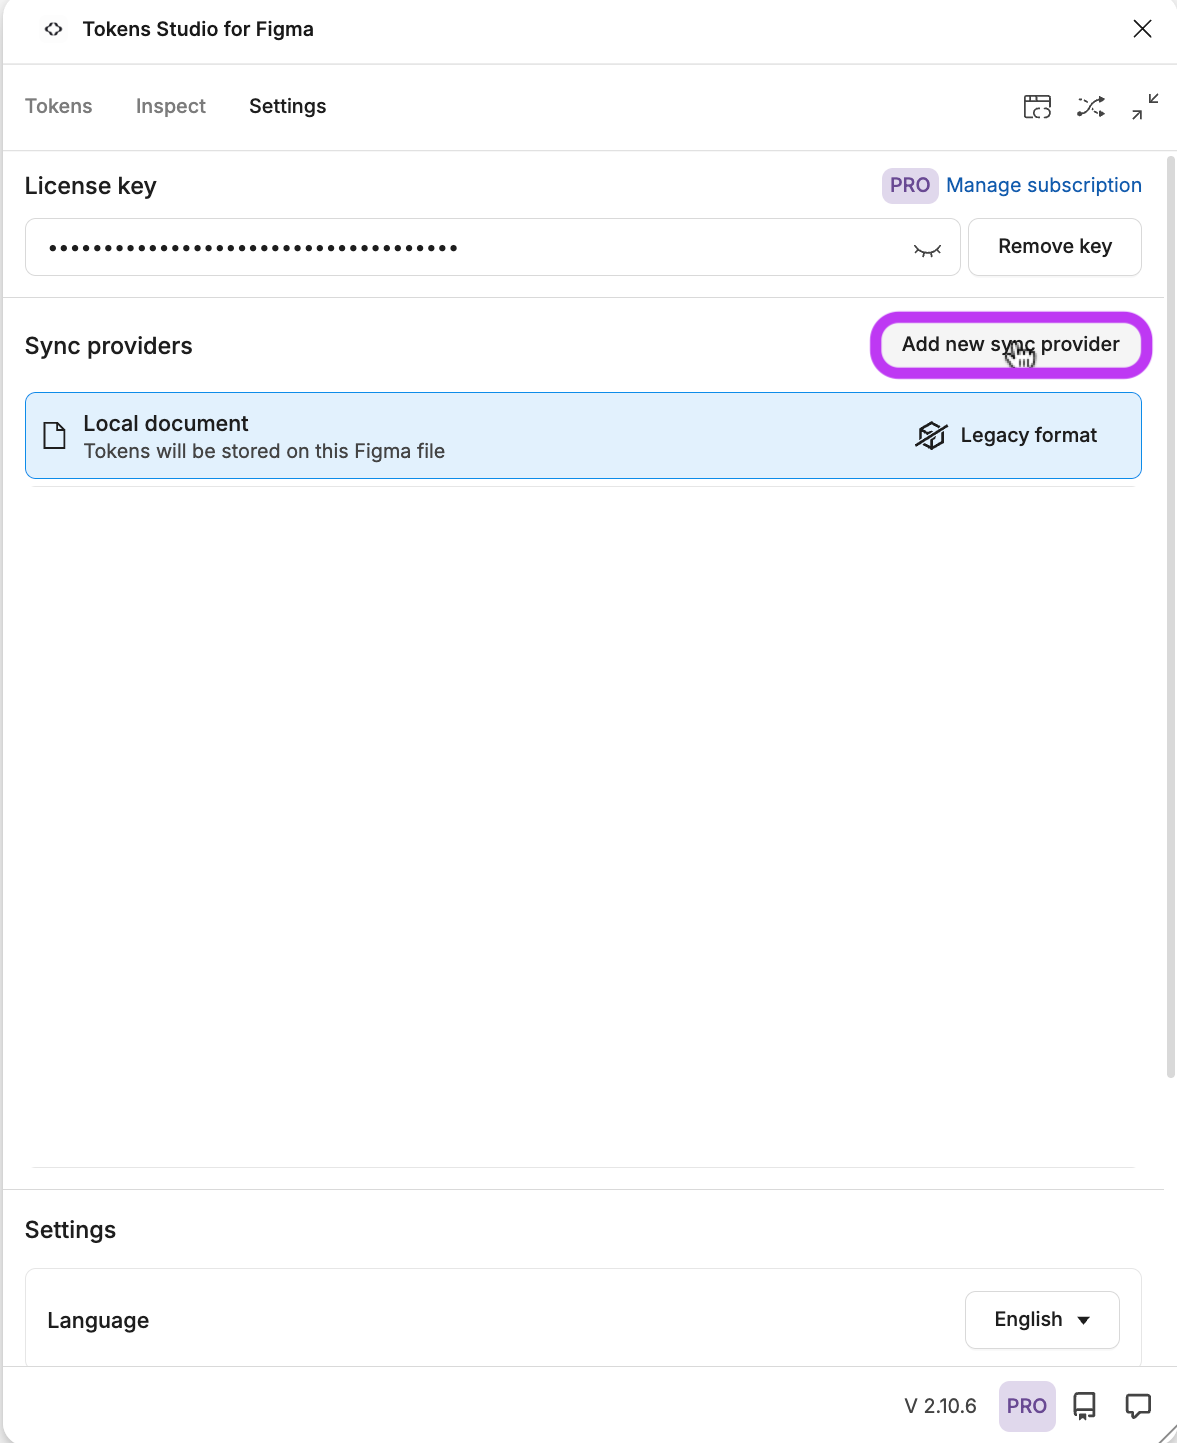
- Open the Settings tab on the plugin.
- Click on Add new sync provider.
- Select Token Studio from the list.
.png)
Step 4: Setting up Token Studio sync
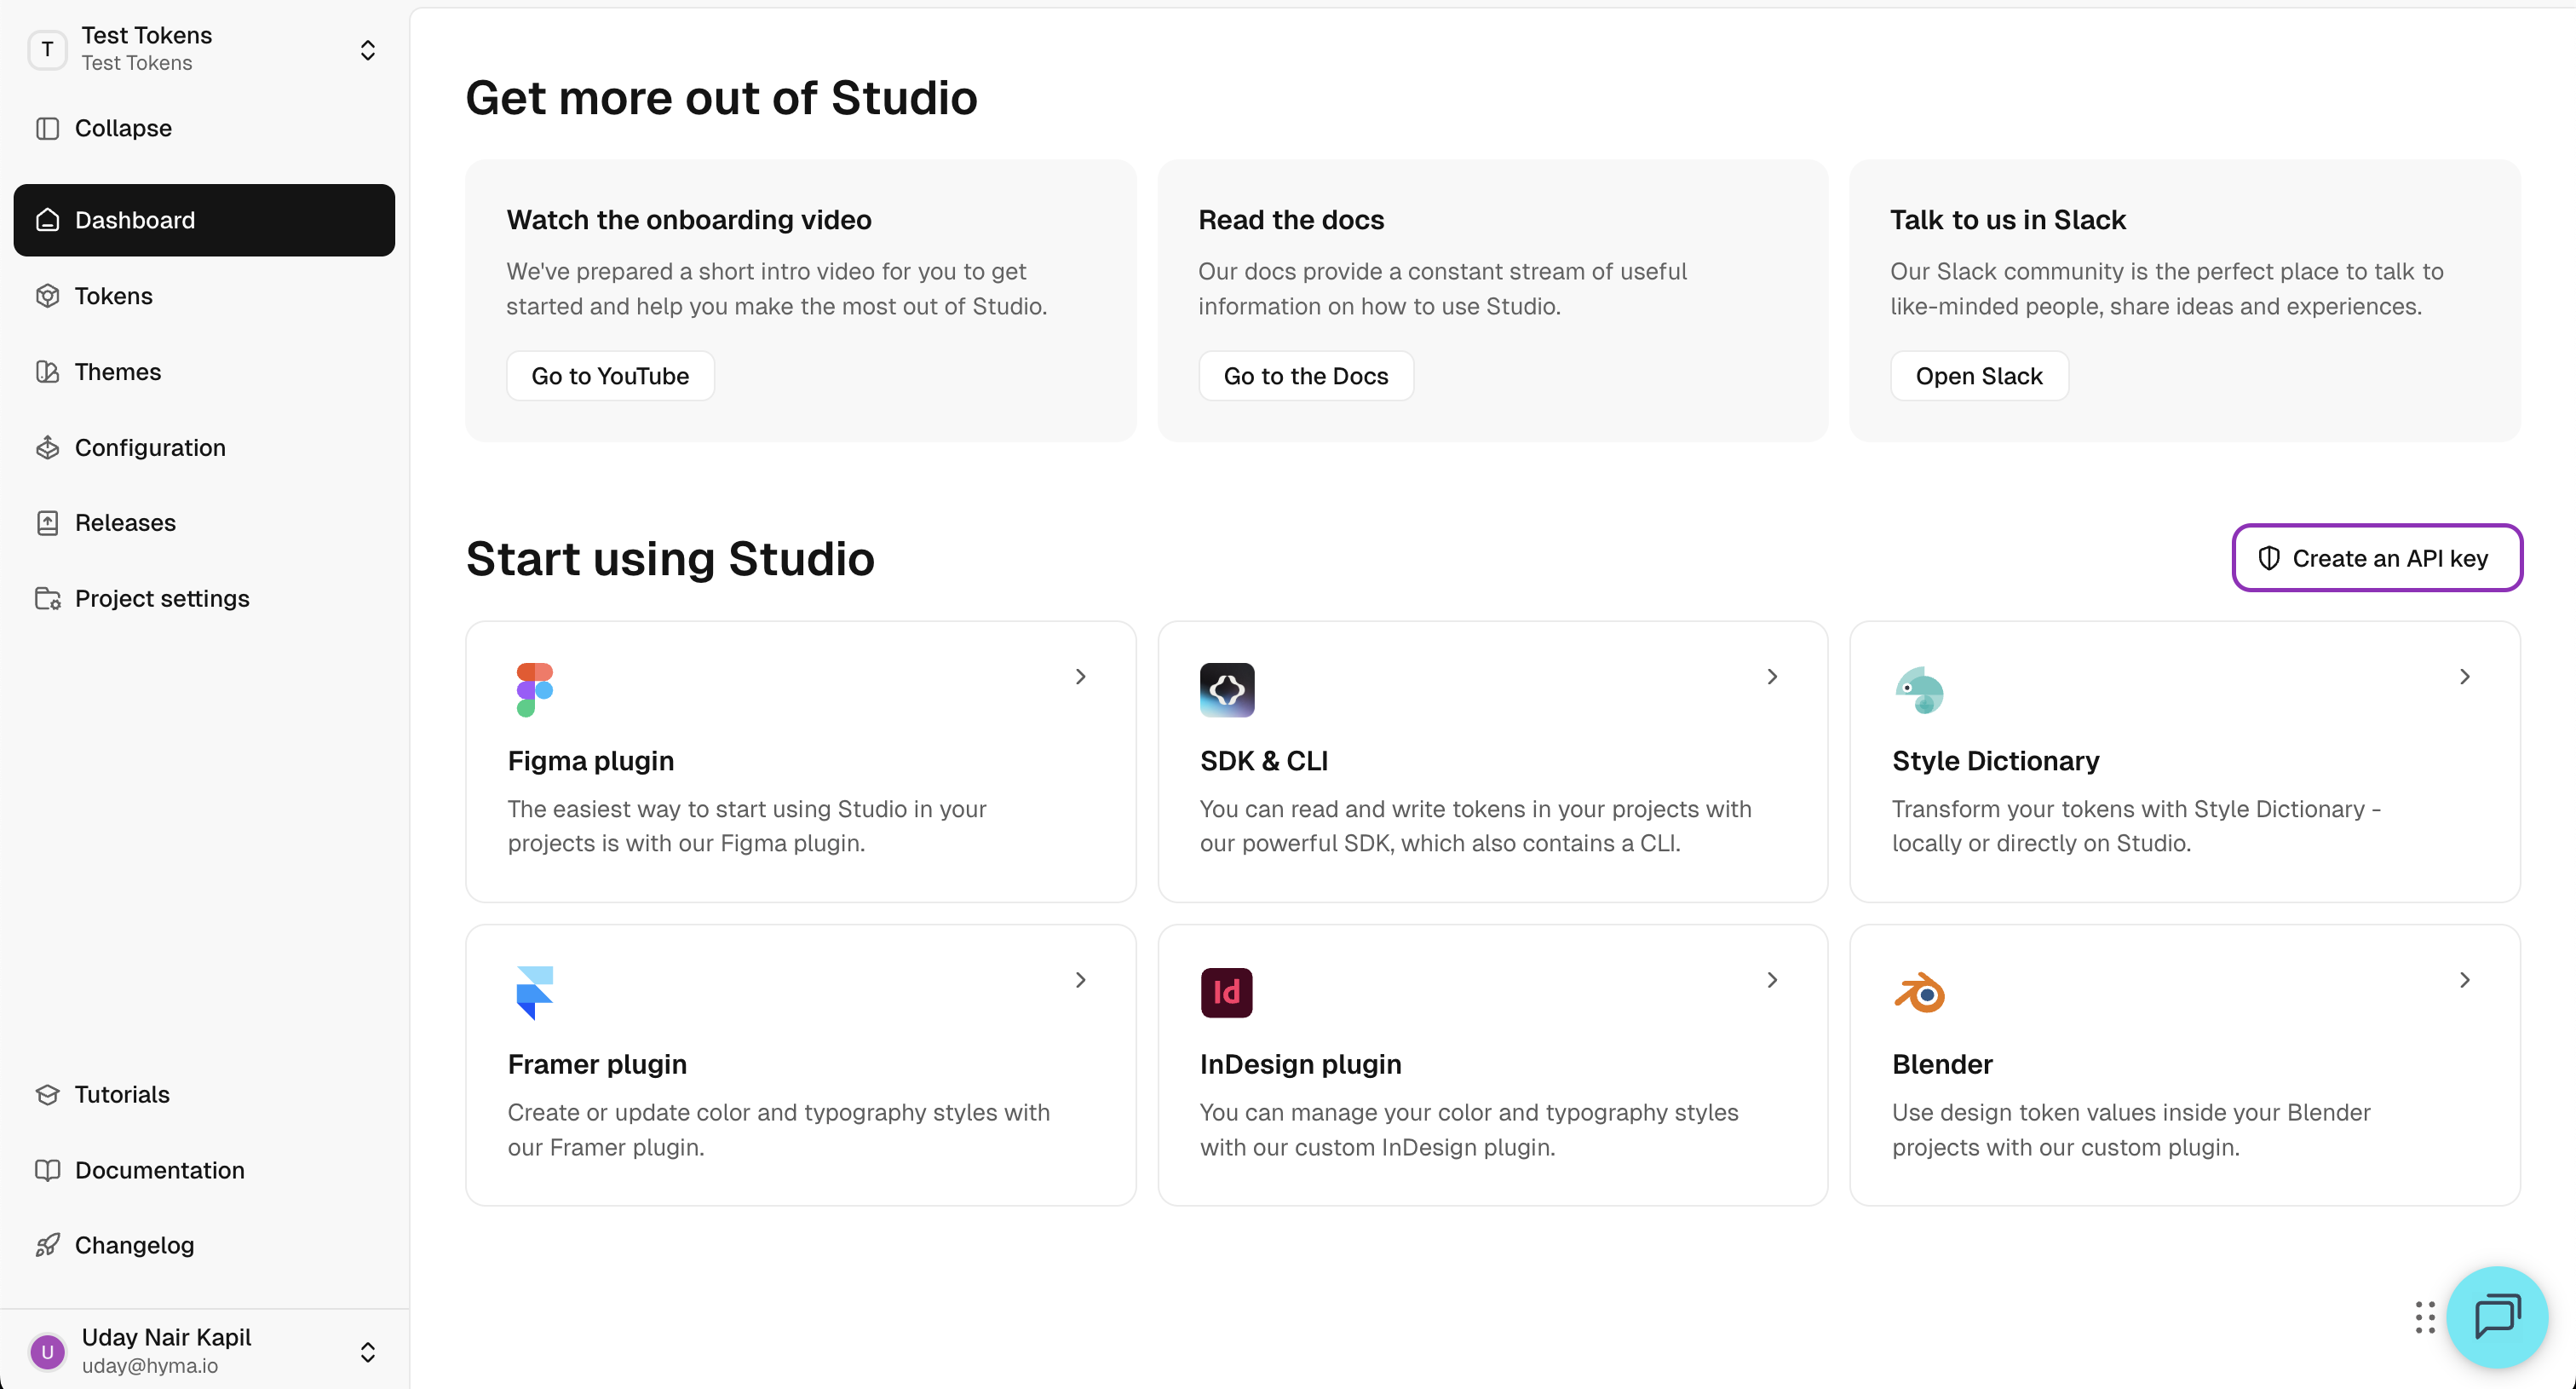
- Return to Studio and go to the dashboad on the left panel.
- Click on Find your API key. You can also jump to the API keys page by using the keyboard shortcut cmd+k.
- The API key is linked to the user which means that it gives access to all the Organisations and Projects that a user is part of.
For more info read Platform > API keys.
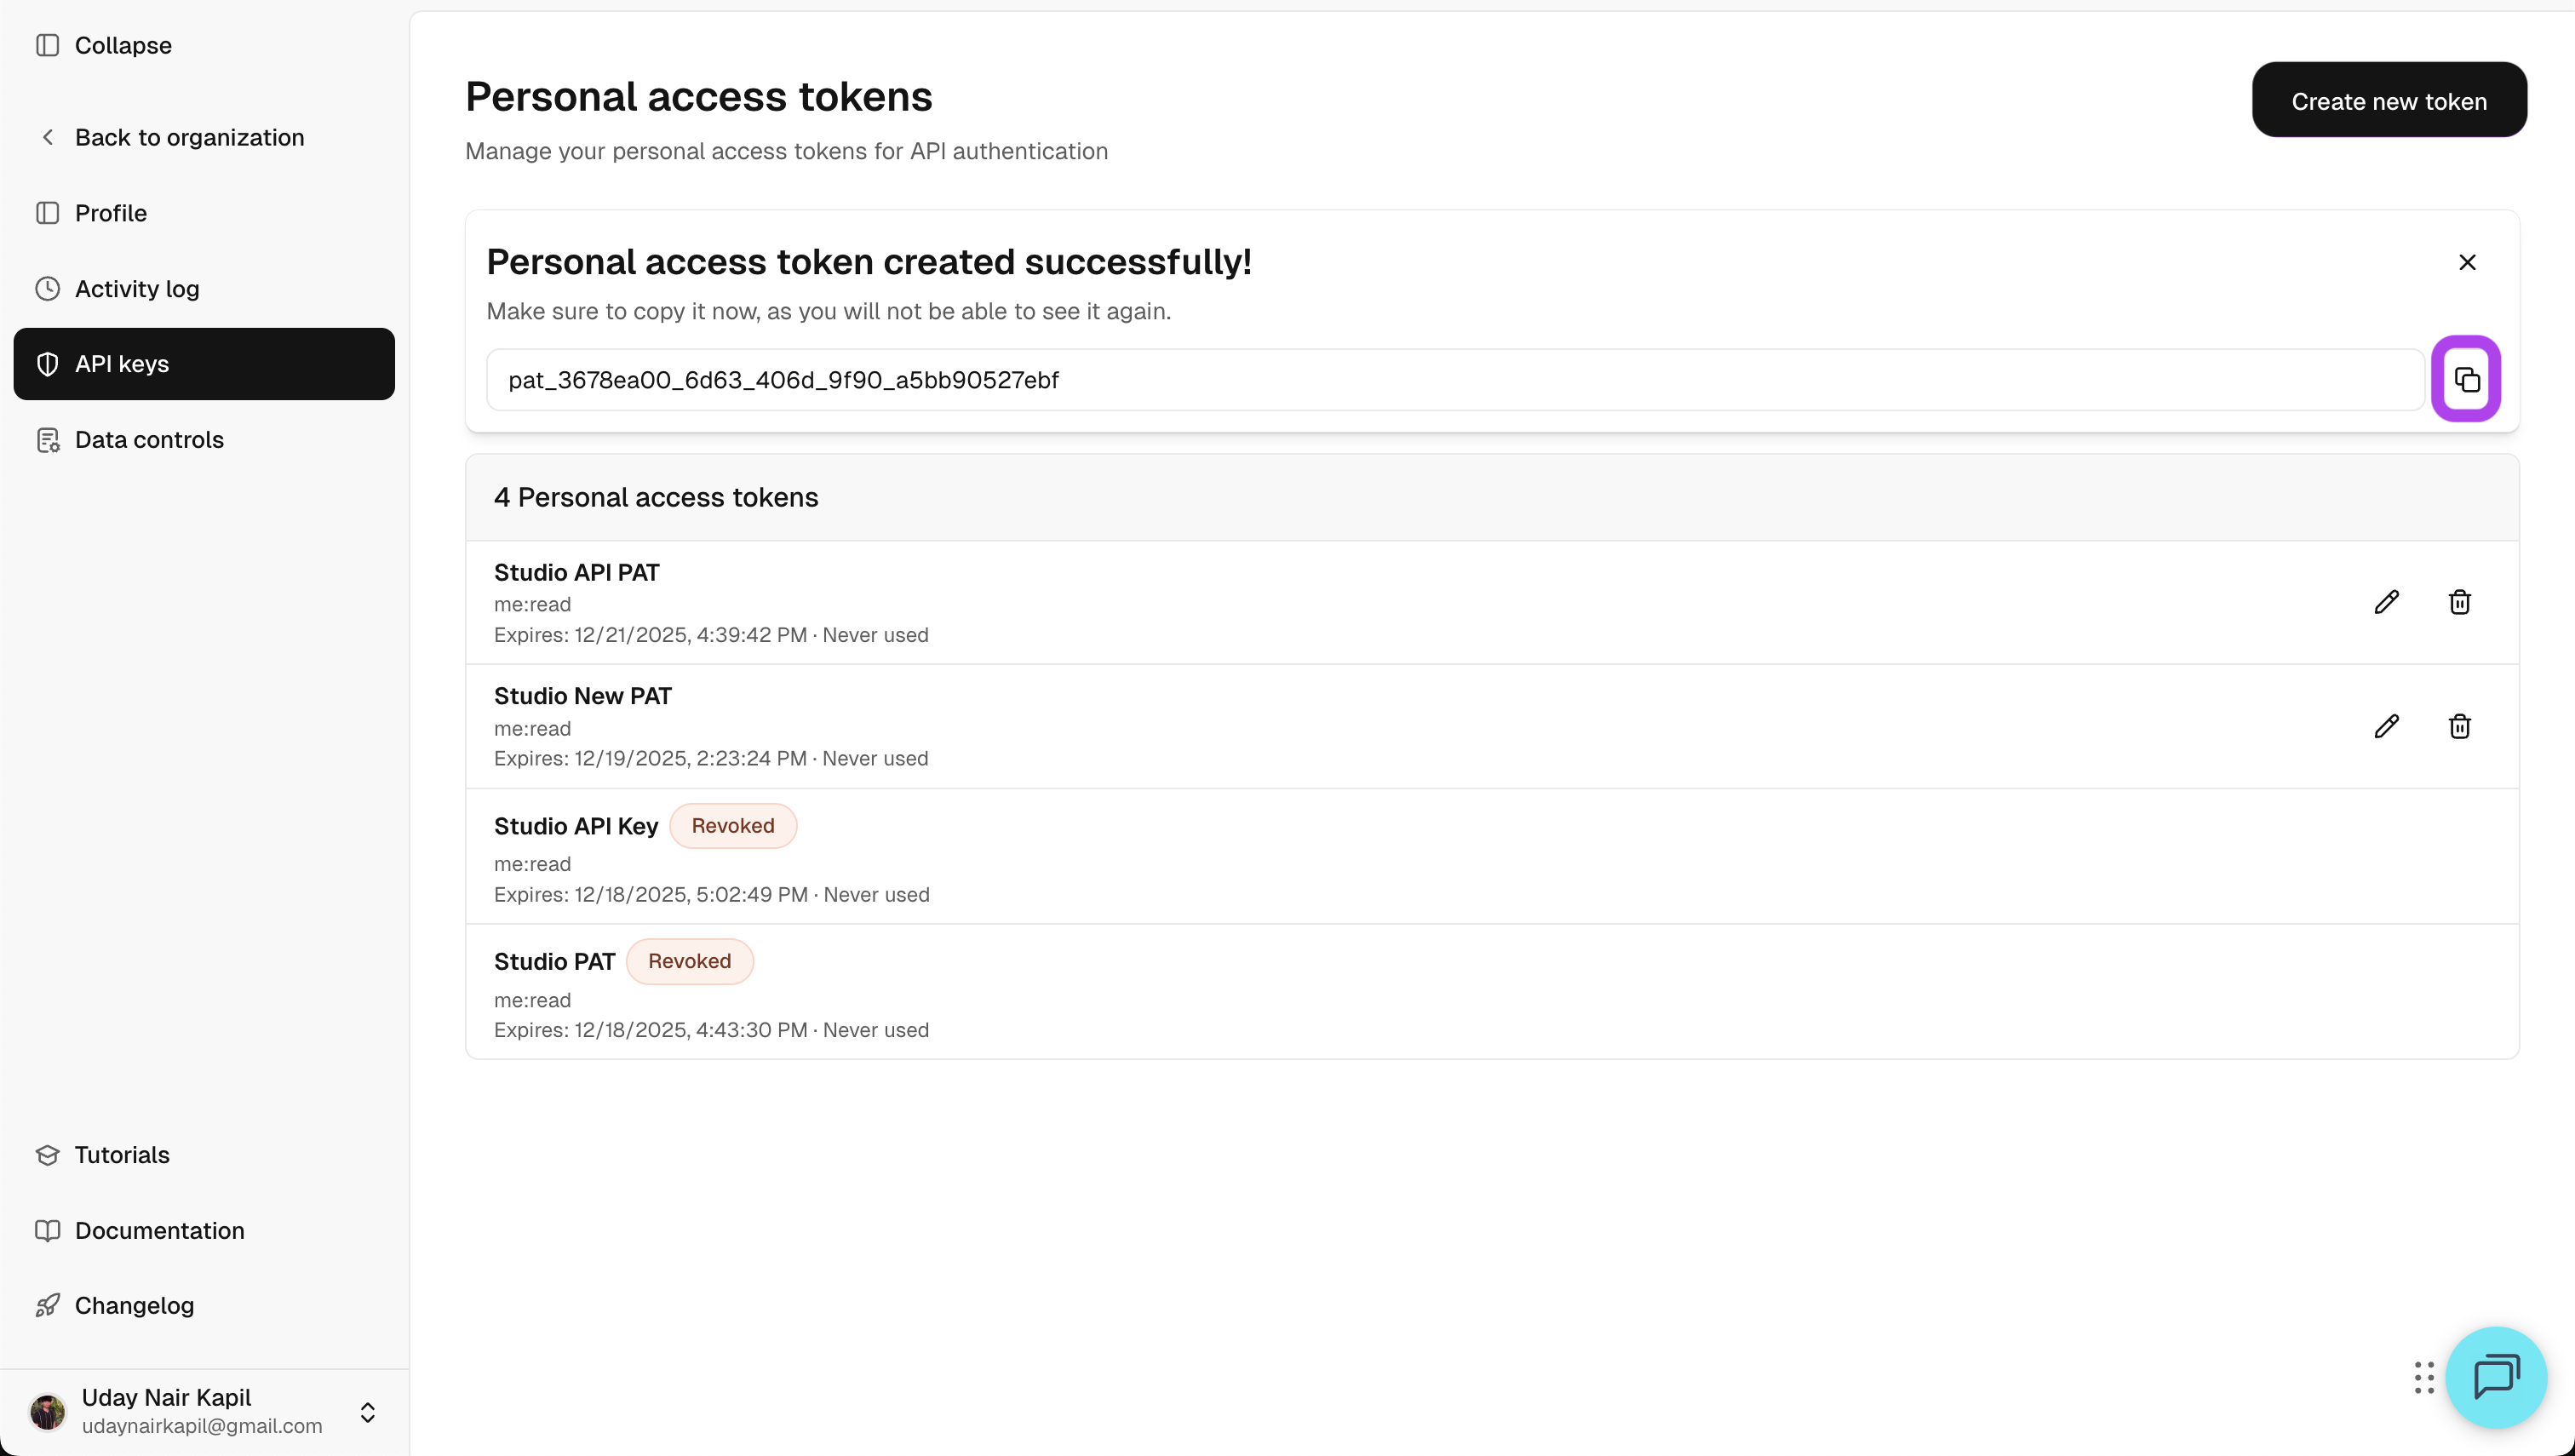
Step 5: Creating your API key
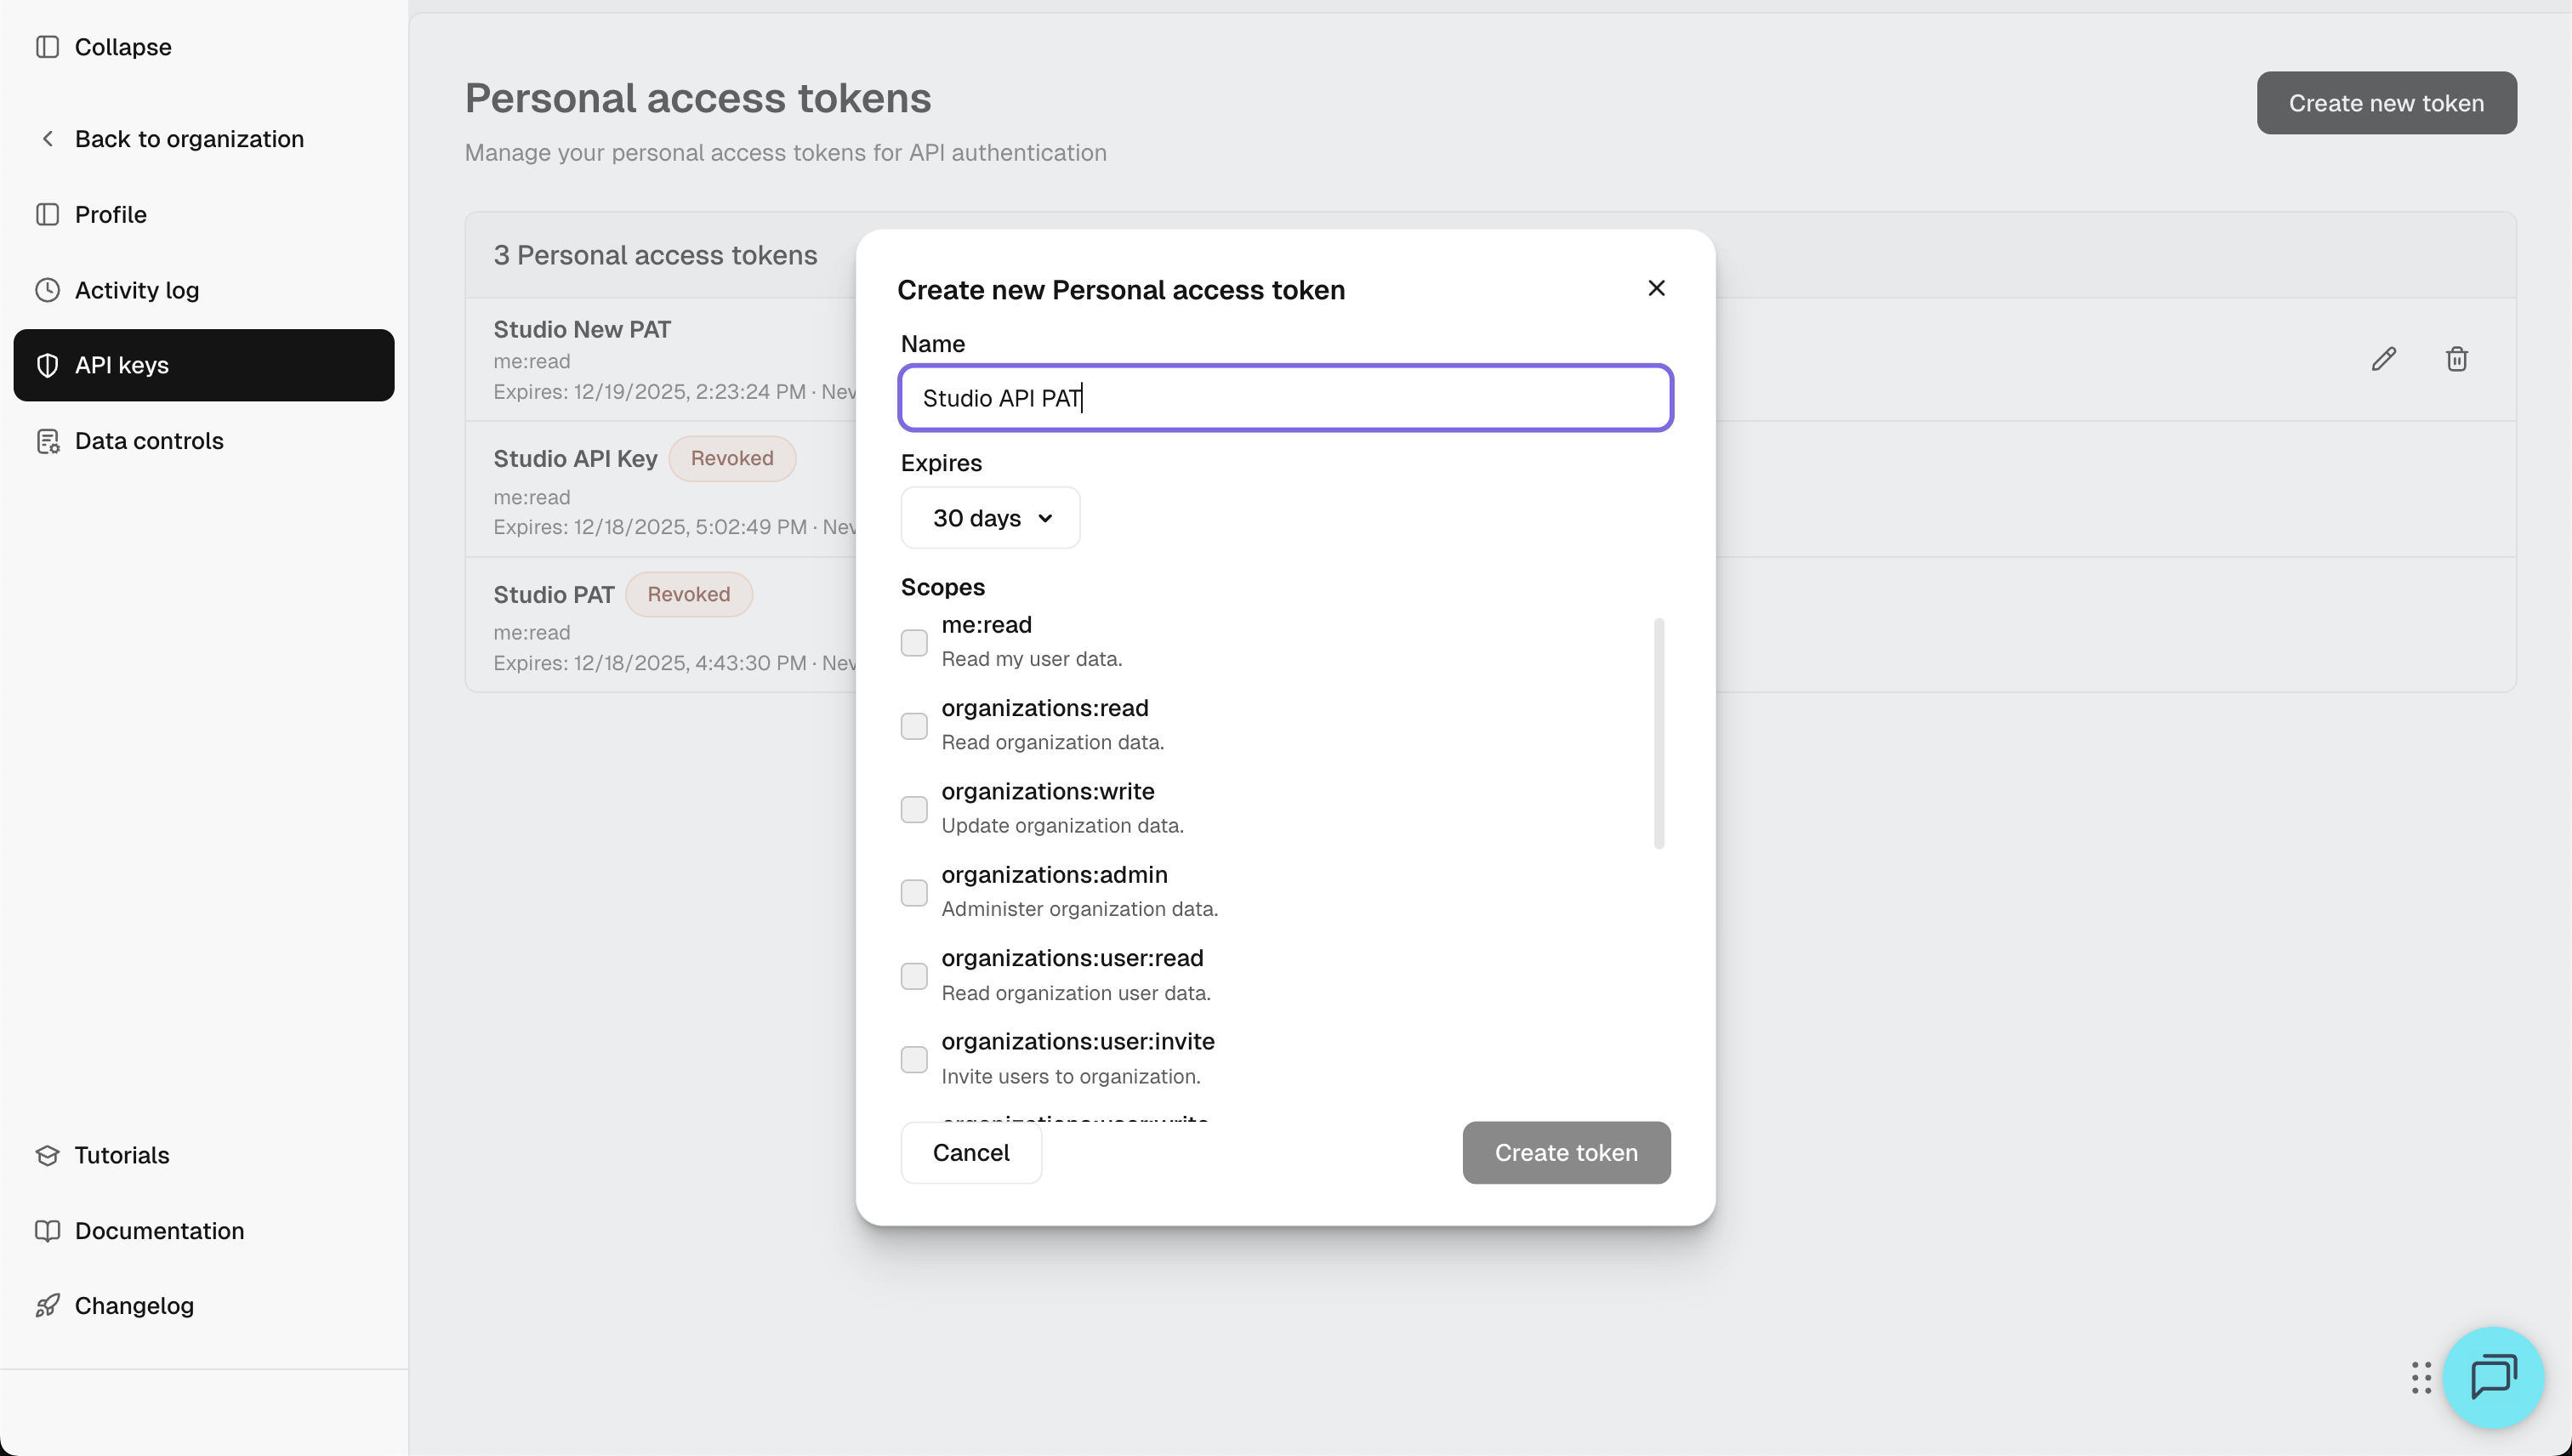
- Click on create an api key.
- Give your API key a name.
- Select the necessary scopes ( Api Keysfor more details on what scope to choose)
- Click create token.
- Copy your API key.
IMPORTANT: Your API key will not be visible again, so make sure to copy it.
.png)
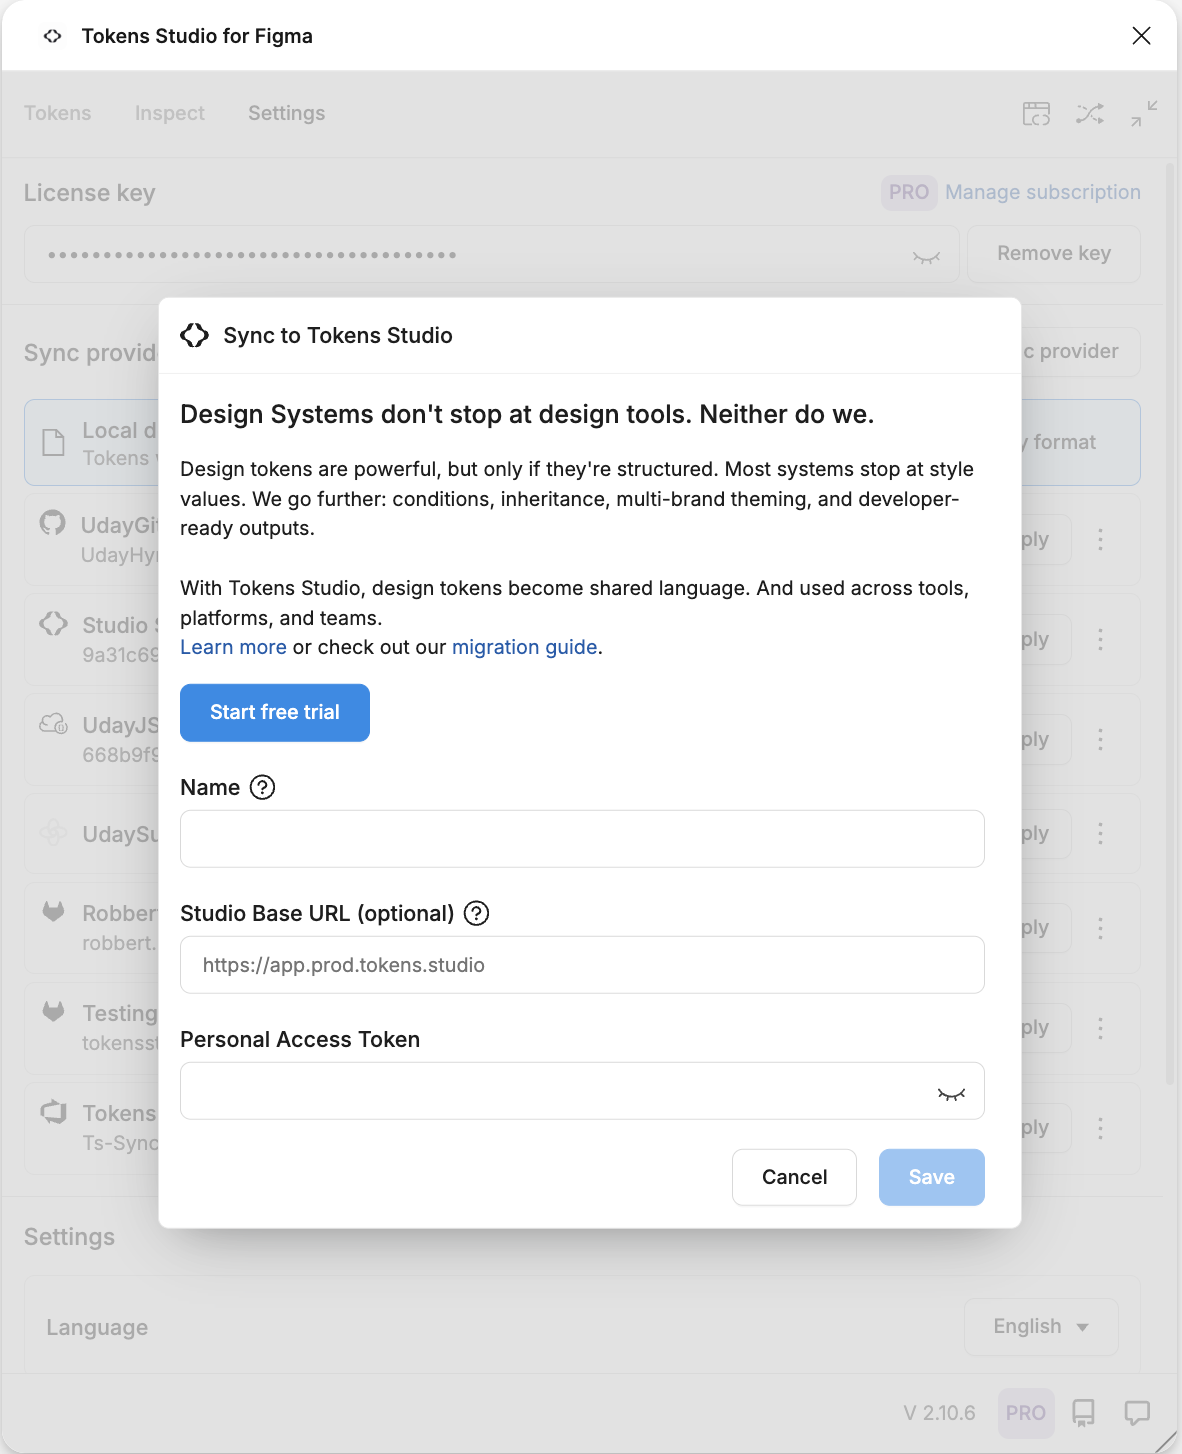
Step 6: Finish adding Studio sync on the plugin
- Return to Figma, on the plugin click on the sync provider we just created
- Give a name for the sync for easy identification.
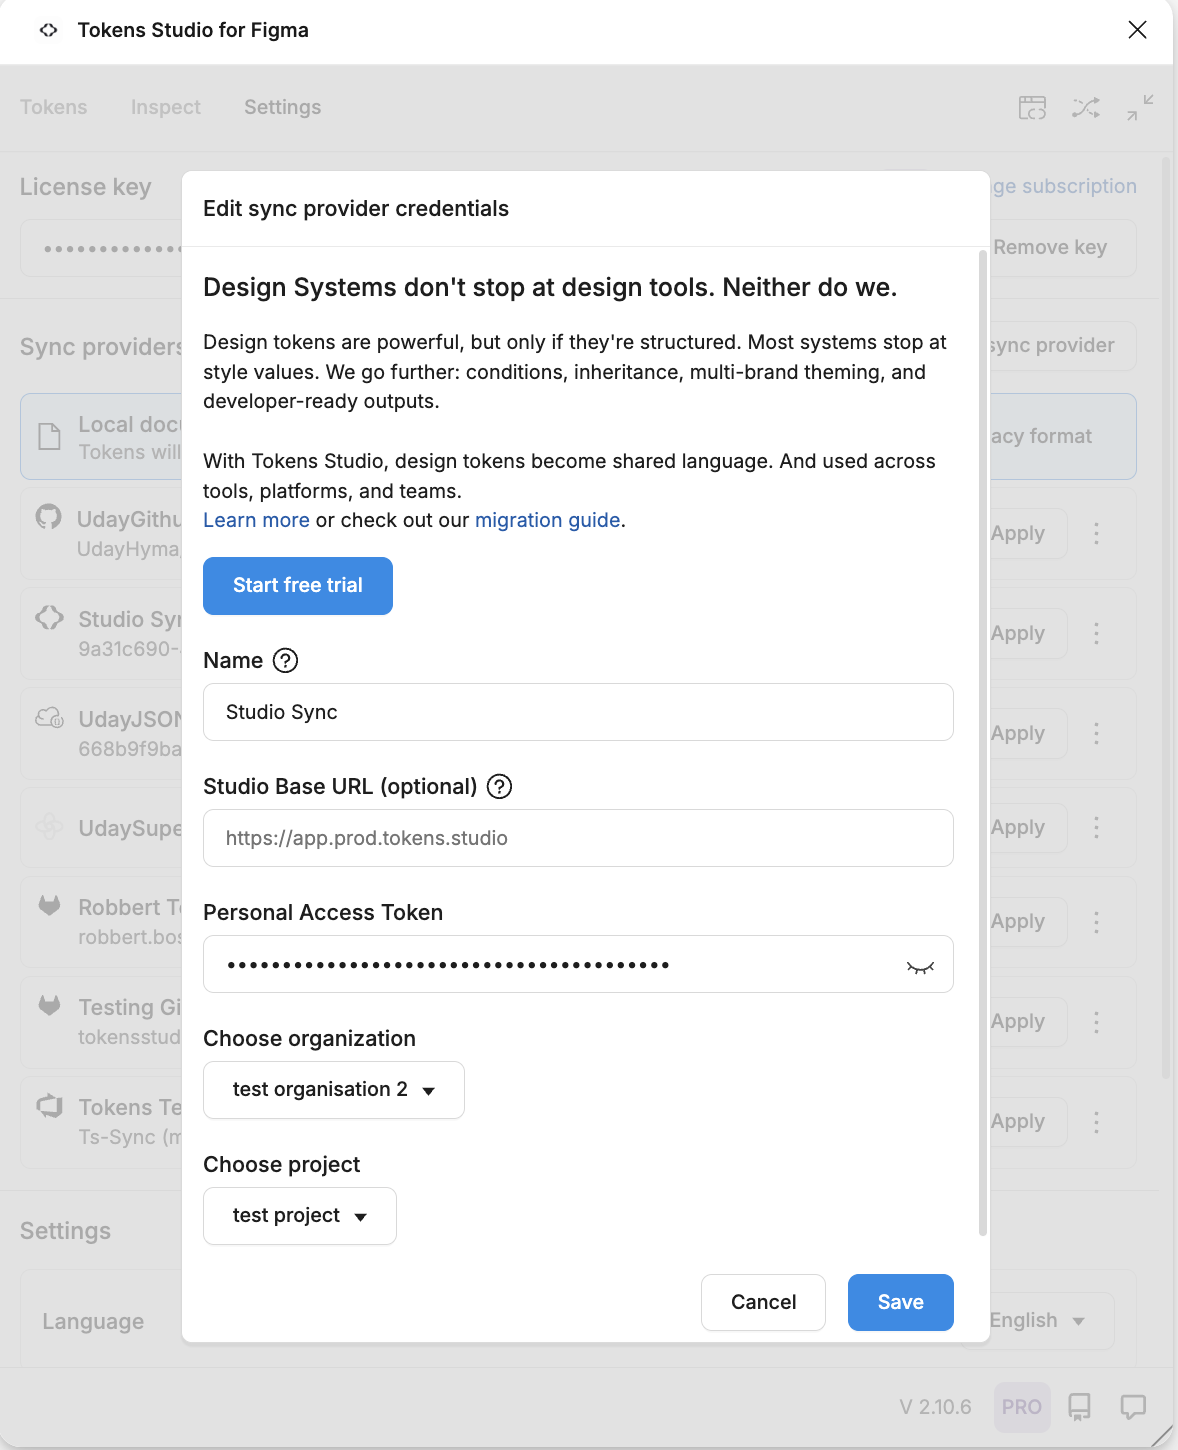
- Enter the API key we just copied in the Personal Access Token field.
- Choose the Organisation that you want to connect.
- Choose the Project that you want to connect.
- You are now connected to Studio and your tokens should reflect in the plugin under the Tokens tab
Step 7: Bi-directional syncing
- Connection with Studio and the plugin is a bi-directional sync.
- Any changes on Studio can be pulled in the plugin by clicking on sync icon at the bottom left of the plugin.
- Any changes on the plugin will be automatically updated on the studio.