Projects
This guide walks you through viewing, creating, and managing projects within an organization.
Creating a New Project
Step 1
Click the dropdown at the top of the interface, next to the current project name.
Step 2
Select Create New Project
Step 3
Enter Project Details
In the popup modal:
- Enter a project name.
- (Optional) Choose a project icon.
- Select a starter template or begin with a blank project.
Starter Templates
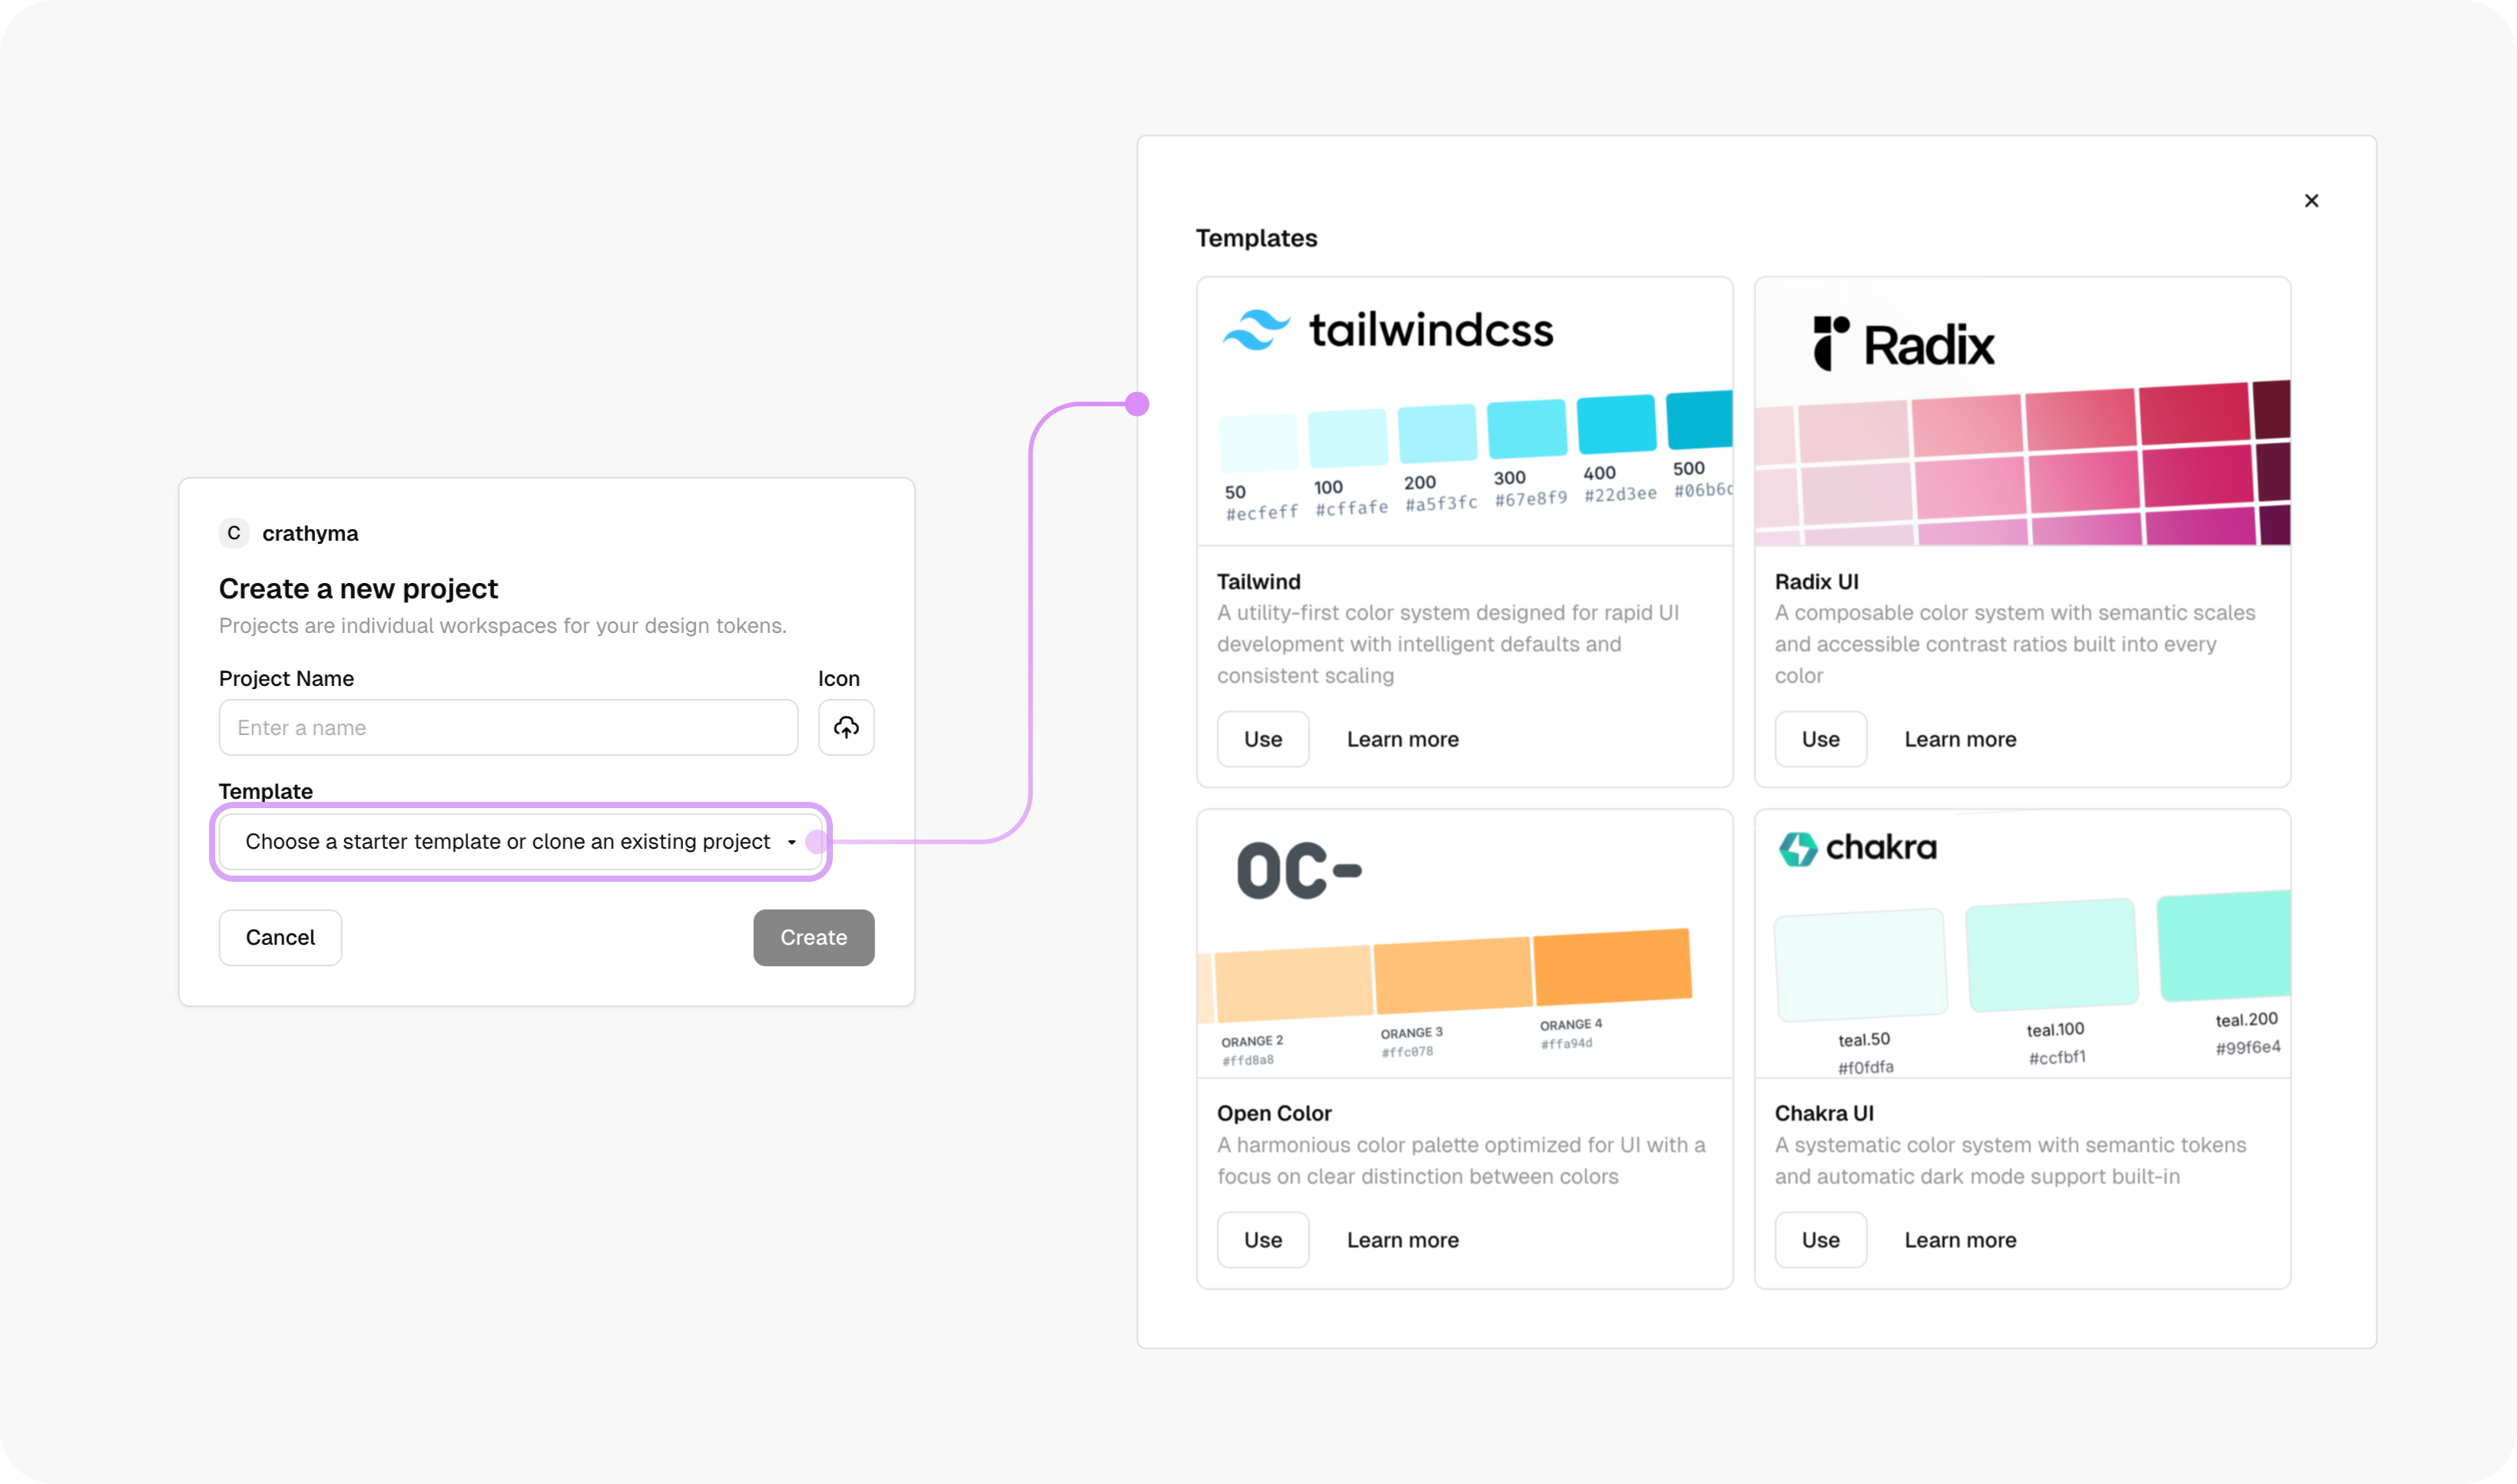
Tokens Studio provides starter templates for popular frameworks:
- Tailwind
- Radix UI
- Chakra UI
- Open Color
Choose a template that matches your design system needs, or opt for a blank setup to create your project from scratch.
Once the project is created, you’ll be redirected to the Project Dashboard.
Viewing Your Projects
To view your projects, navigate to the Projects section in the side panel. Here, you'll see a list of all the projects associated with your organization.
- Switch between projects by selecting the desired project from the list.
- Access Project Settings directly from this panel.
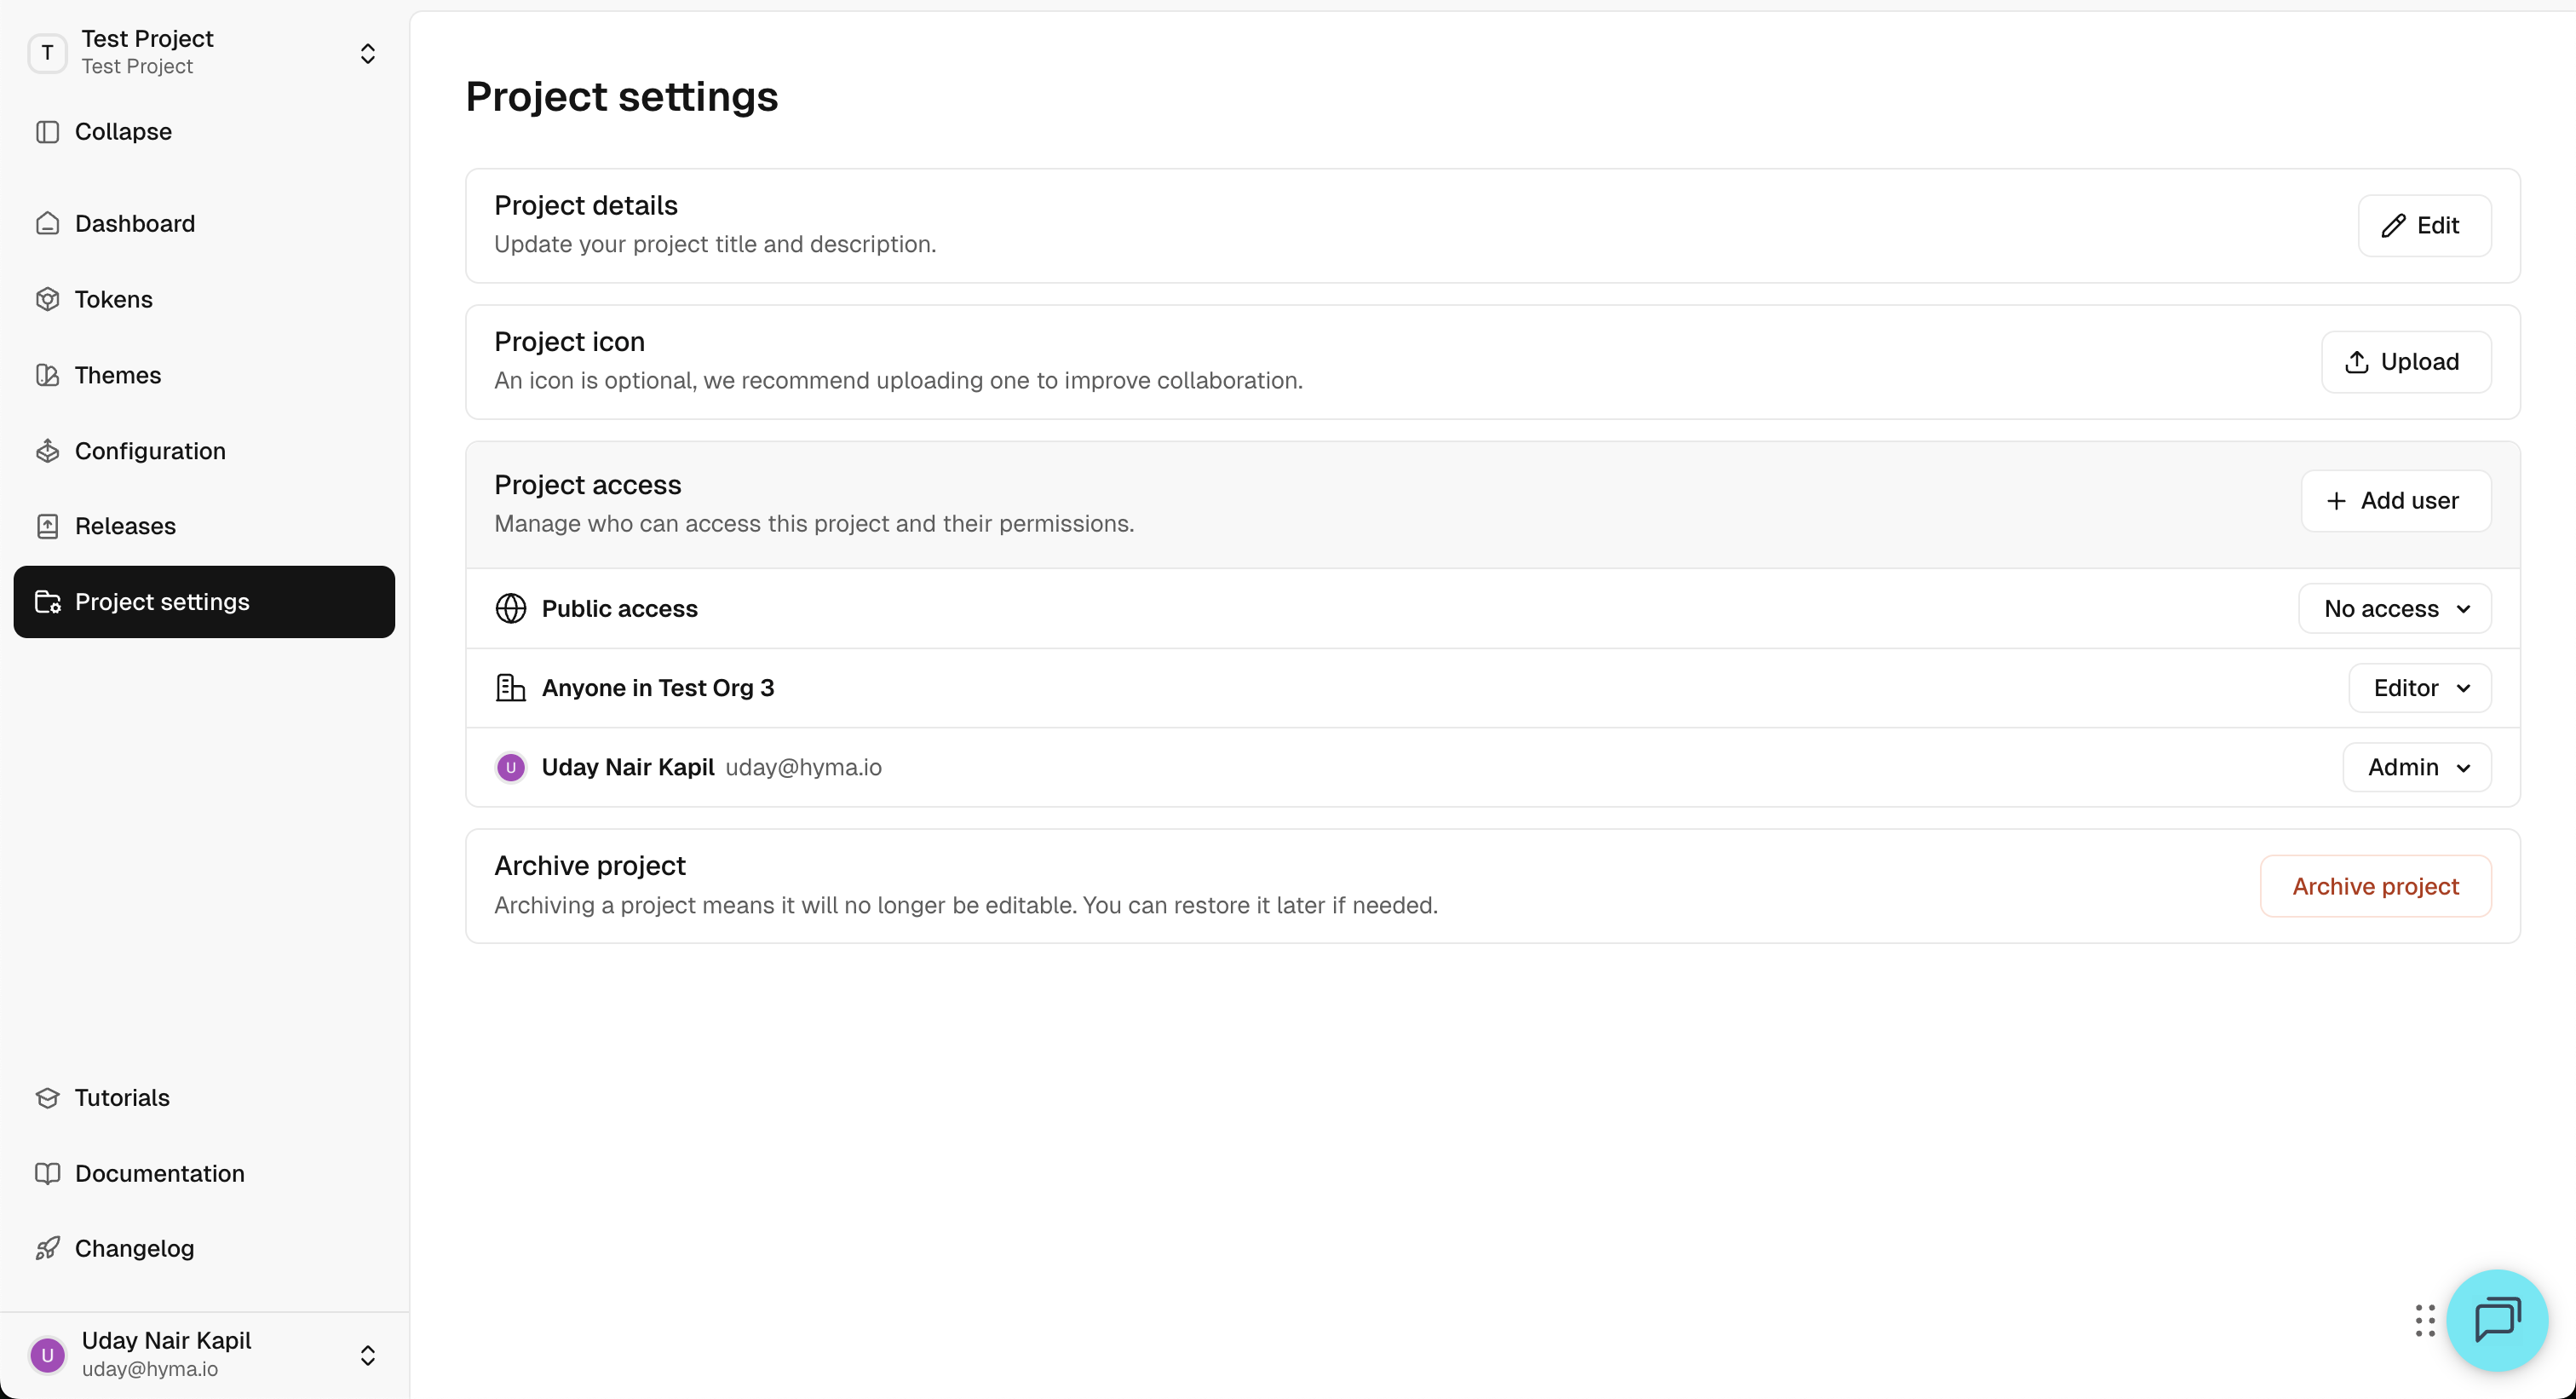
Accessing Project Settings
Each project has a dedicated settings page, where you can:
- View project details such as the project name and icon.
- Update the project icon to better reflect the project identity.
- Archive project means the project will no longer be visible, but can be restored later.
To open project settings:
- Click the project name in the side panel.
- Select Settings from the dropdown menu.
Alternatively, access Project Settings from the side panel.